First, let me just say there are loads of different methods that work well for successful seed starting. We all have different circumstances and garden sizes. I have used all different types of containers and set-ups over the years (see this post about a few of them).
Our Story
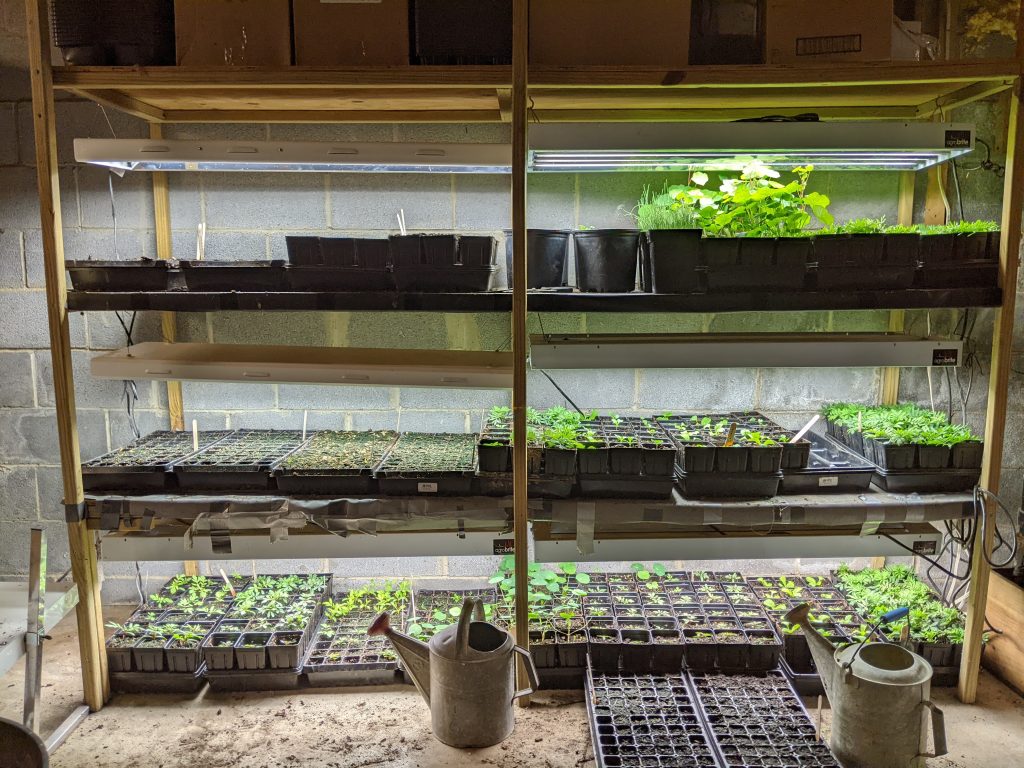
This is the set-up that works well for our current family and garden size. It’s simple enough that my kiddos know how to fill the trays and transplant seedlings from one size pot to the next without any help from me. We have been blessed to be able to purchase a few more grow lights each year to expand our set-up for starting more seeds ahead of time. Grow lights seem expensive, but they are much cheaper than buying seedlings already started from the store. We used to use the top of our fridge and freezer to warm our germinating seedlings. Now we have two 4ft long heat mats that go under those trays.
We are growing enough plants to feed our large family and preserve for the winter. Plus, we always plant many extra seedlings to share with friends. Using plastic is not the best for the environment, but it makes it easy and inexpensive to give trays of seedlings to friends and neighbors.
#1. Beware of damping off
Damping off is a seedling disease caused by pathogens in the soil. It’s likely to occur when seedlings germinate in cold soil and do not have enough light.
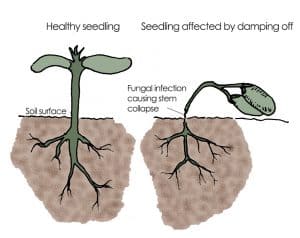
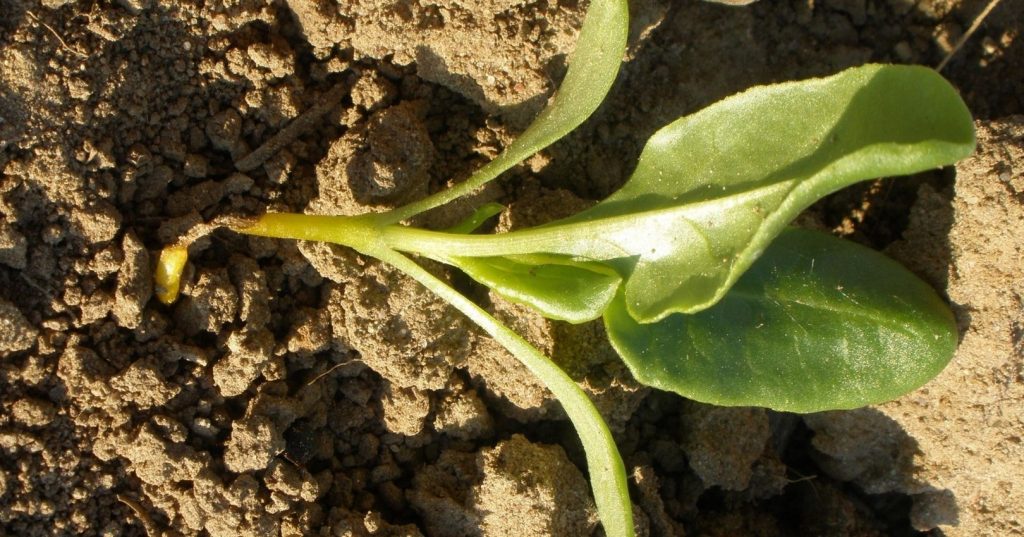
Damping off is usually characterized by this collapsing of the stem and can happen in any variety of seedling.
Prevent damping off by:
- Using sterile (new) potting soil for every planting
- Cleaning all planting/seeding implements, trays, pots etc thoroughly from year to year
- Providing at least 12 hours of light for your seedlings
- Using a heat mat to keep the soil warm (70-75F is ideal)
- Using soil and pots with good drainage. Soil should be moist not soggy.
#2. Room for roots
Do not let seedlings outgrow their pots. Waiting too long to transplant or “pot-up” to the next size pot will limit the plants growth and give them an unfortunate shock when they are finally transplanted. Certain plants (like squash and root crops) do not like to have their roots disturbed at all and can die from transplant shock . (I may have done this to my luffa plant last year, ahem.) Or the shock will provide an opportunity for plant diseases need to take hold.
I use plug trays for starting most of my seedlings. When they have two true leaves then we transplant them up to the 4 inch pots.
#3. Keep them moist, but not soggy
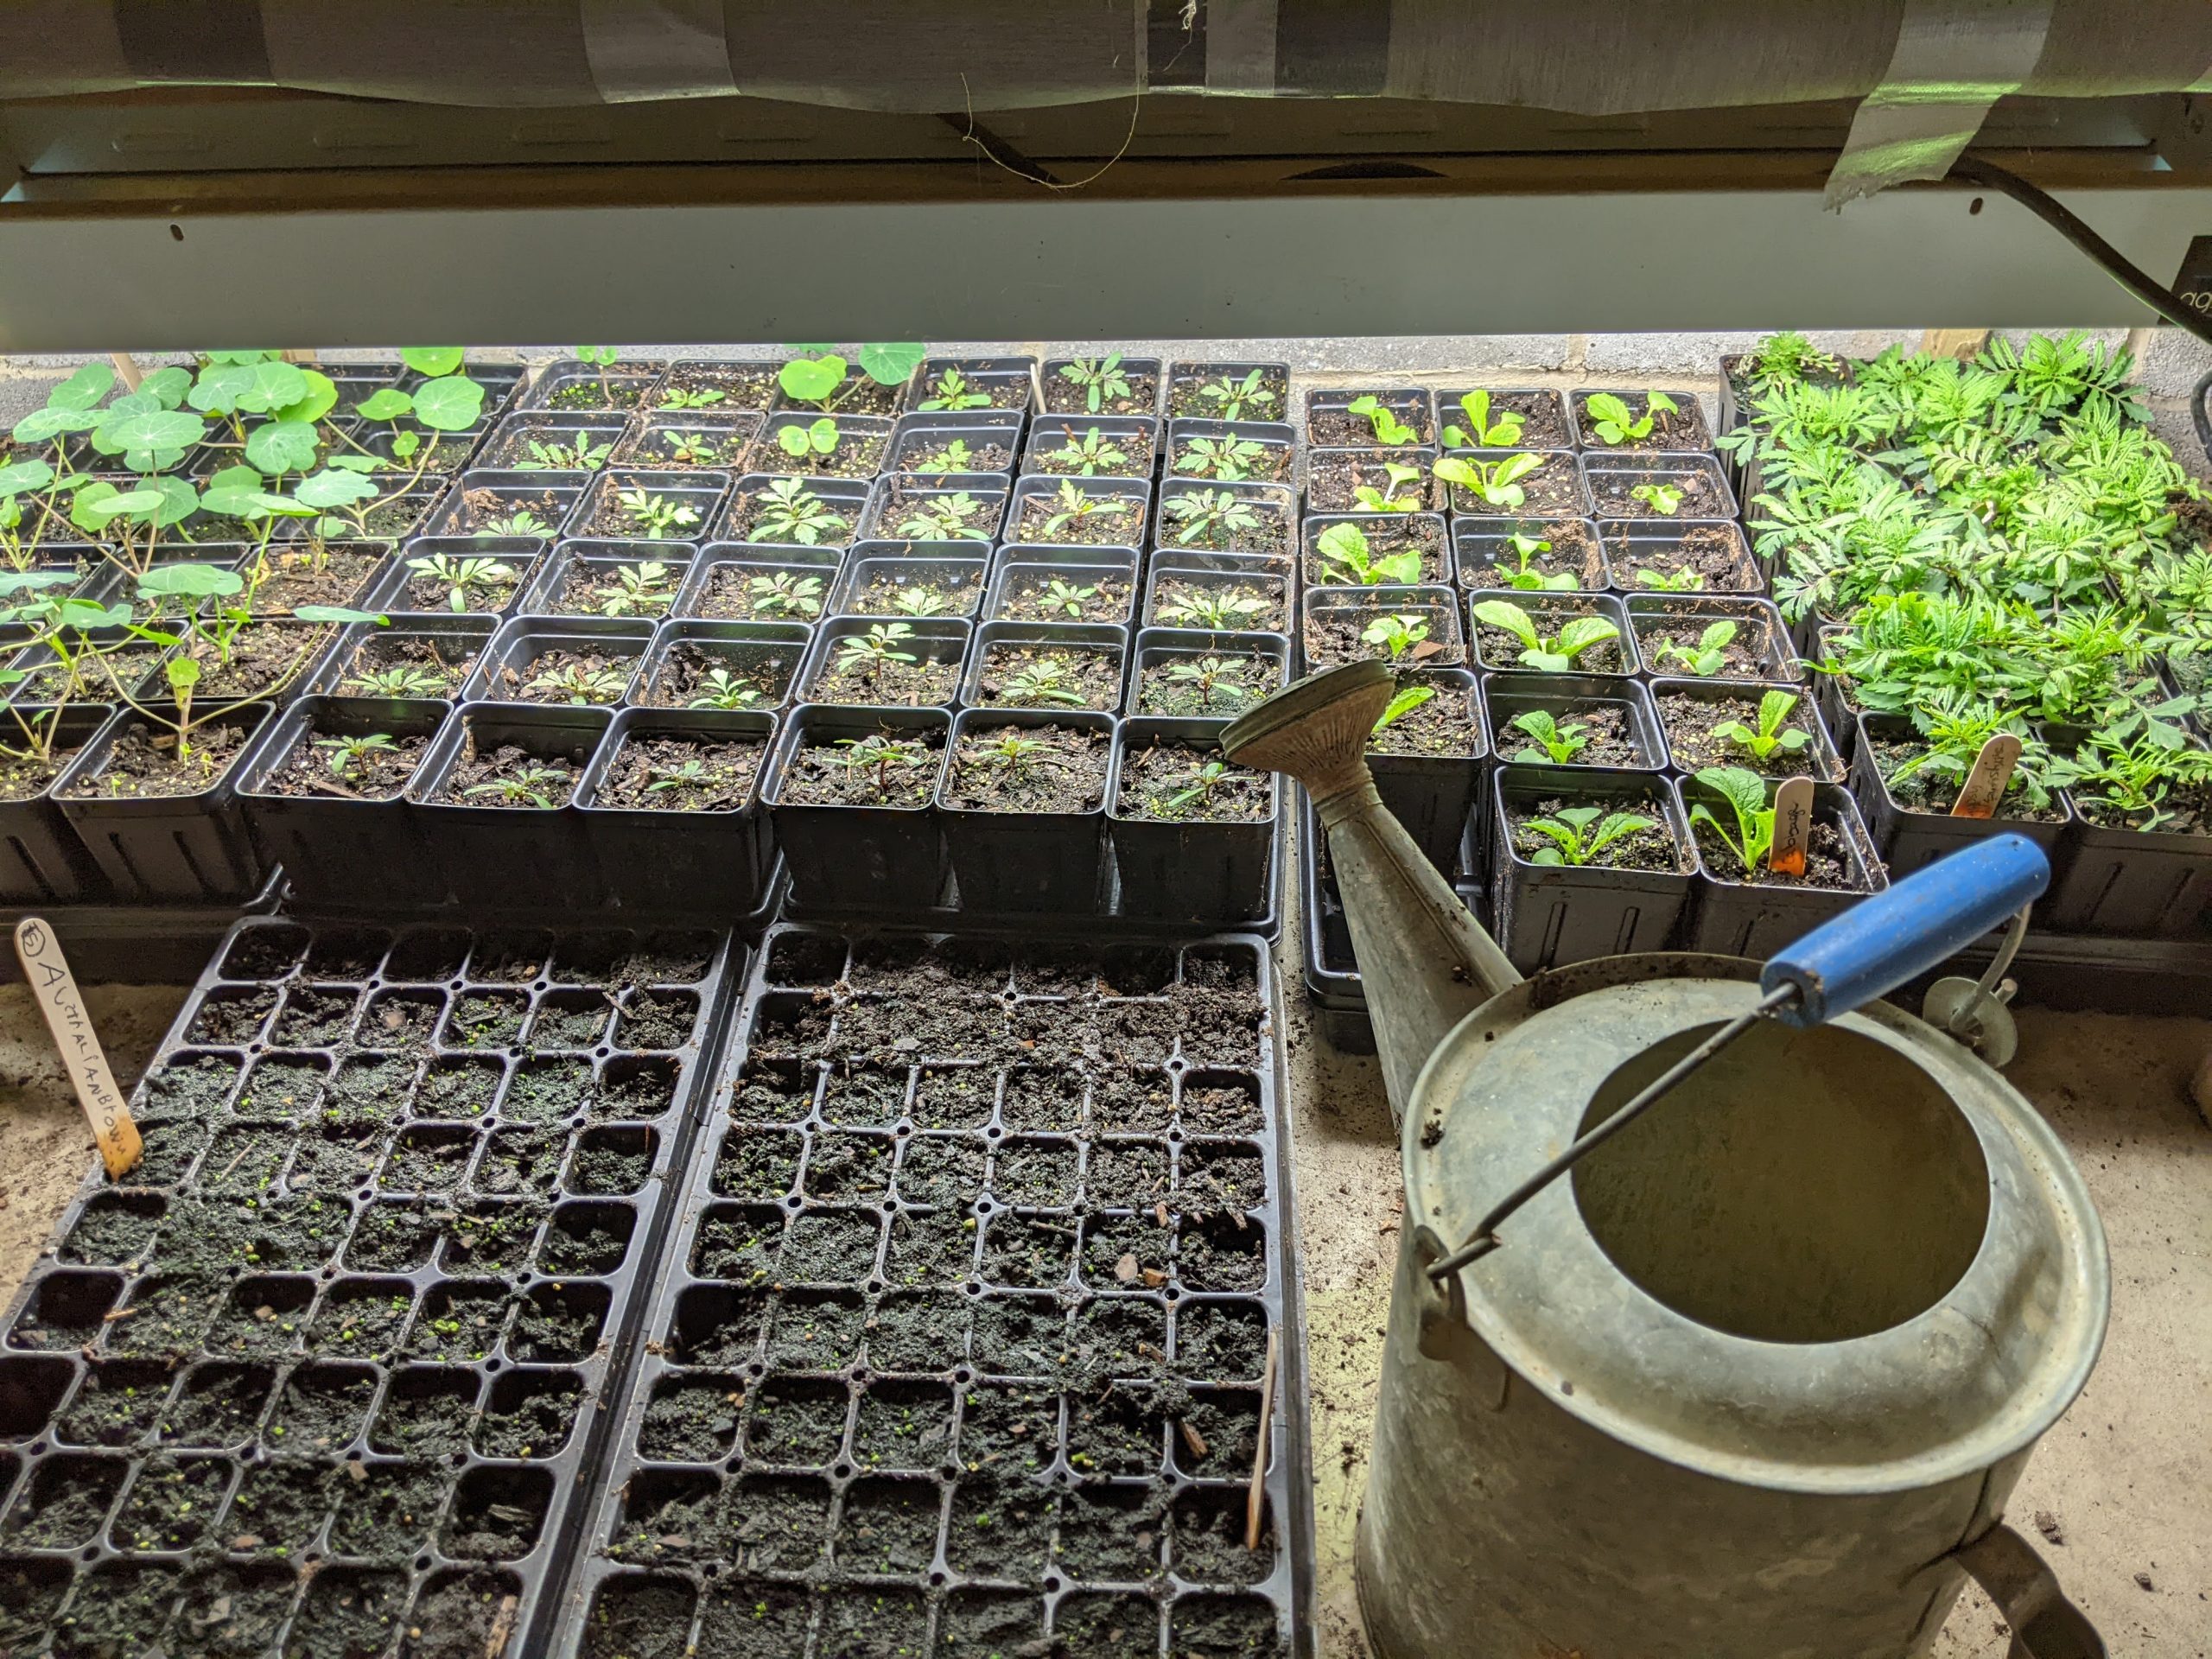
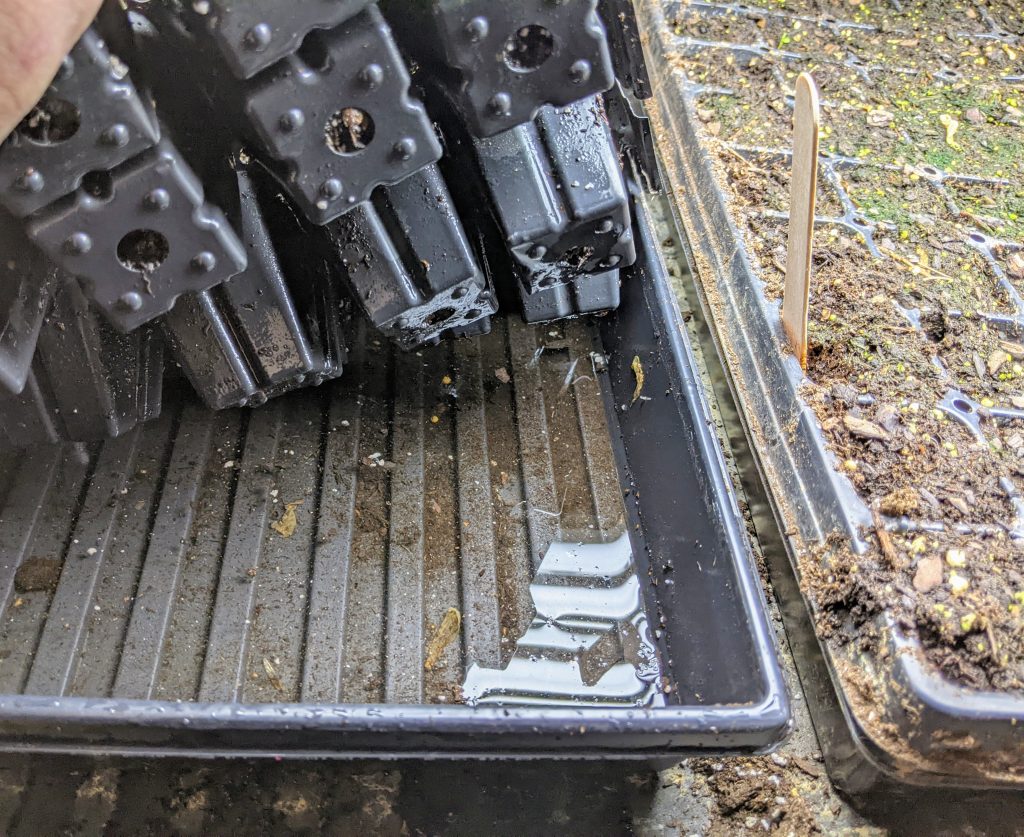
The quickest way to kill seedlings or prevent germination is to let the soil dry out. On the other hand, soggy soil can lead to mold and fungus. It is a tricky balancing act. A little green mold/algae on the top of potting soil does not mean your seedlings will die, but it may mean that you are keeping the soil a little too moist. I personally tend to err on the moist side (as you can see in the photo below).
I water all of my plants via trays below their pots. Wet leaves are likely to attract fungus and disease.
#4. Use potting soil, not seed starting mix or garden soil
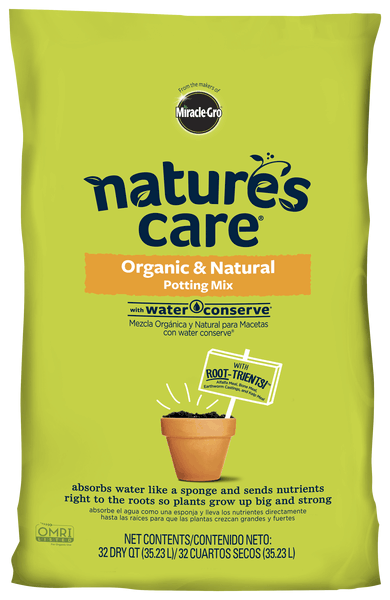
This point is debatable. Potting soil is excellent because it contains the food/fertilizer that seedlings need after their first 2 weeks of growth. Seed starting mix does NOT contain any food for growing seedlings. That is a good way to help prevent damping off during their first couple weeks of growth. However, I have never had any issues with potting soil causing diseases (that I know of). Honestly, I am more likely to have problems remembering to fertilize my seedlings weekly (which is what you need to do if you start with a store-bought seed starting mix).
Do NOT use soil labeled as garden soil or in-ground soil. It will be too heavy and clumpy for seed starting and will not retain water well. I have been using organic potting soil to start my seedlings for over a decade and it works well. You can also make your own seed starting soil mix. I wrote out Elliot Coleman’s recipe for that here.
#5. Be sure to wet your potting soil before planting into it
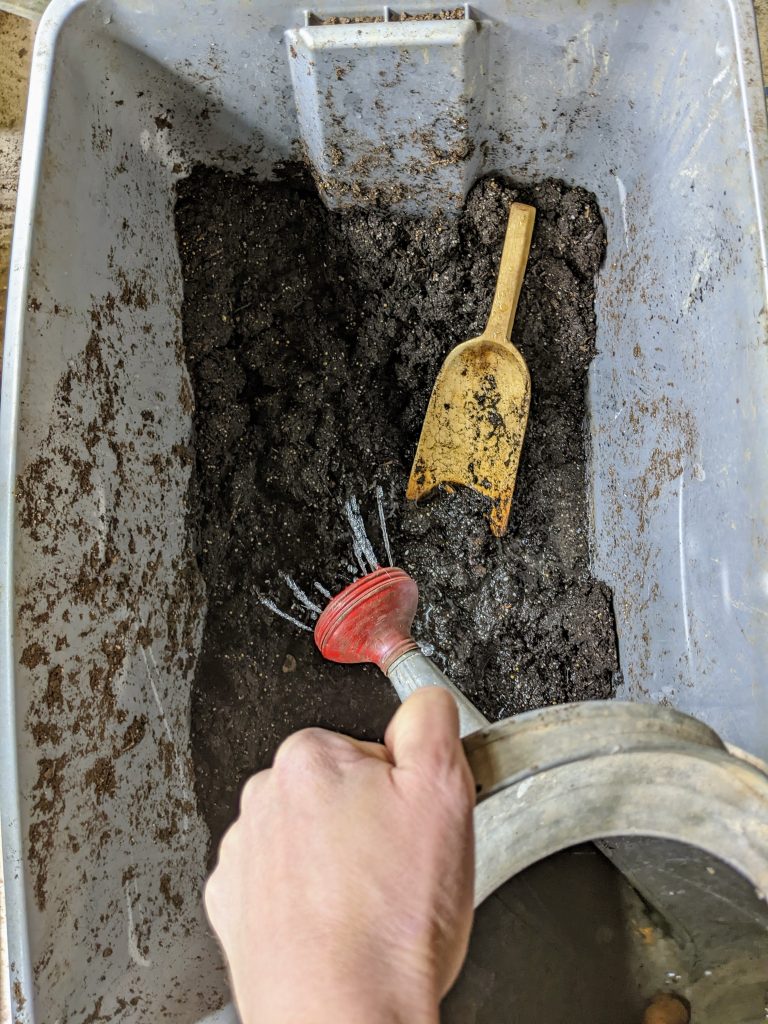
I have a large rubbermaid bin that I can dump 2 cu feet of potting soil into. I add about 3-4 gallons of water to the mix and stir it together well. Planting the seeds in wet soil assures that they get a good moist start. Depending on the seed, we often “water it in” with the watering can. I think of that as pushing it down lightly into the soil with a good rain storm. After that we water from below.
#6 Plenty of light
Of all the questions that people in my garden club ask me about starting seeds, this one is the hardest:
Can I grow seedlings on my windowsill?
Yes, BUT… And there are a lot of caveats to go with this. Usually the answer should be no, in my opinion, do not try to grow seeds on your windowsill. It has to be a large, south facing window, with no trees or overhangs shading it… And even then your seedlings are likely to be more leggy than those under intense grow lights.
Here is a picture from a gal in my garden club which is representative of what I experienced when I first started trying to sprout seeds on my windowsill. She used a South facing windowsill, but still her peppers grew terribly leggy trying to get enough light.
It’s worth investing a few good quality grow lights. They will last for many years and give your seedlings a healthy start. These are the ones that I use. I bought them on sale via Amazon warehouse one or two at a time.


Leave a Reply