We turned our annual soil testing into a homeschool science lab. We gathered soil samples and performed our own mason jar test to determine the soil composition.
Learning Objectives:
- Understand how sampling works
- Examining soil composition (mason jar experiment)
- Charting with percentages


I did our first soil tests two years ago sans kid participation since it was my first time doing it. This time I felt confident that we could share the task and make it a learning opportunity!
First Lesson Objective: Understanding how sampling works
Soil testing is an extremely tangible way to show kids how statistical sampling works. (I used to do a lot of research based on samples in my pre kid professional life). First, I explained that we were trying to understand what minerals and materials (clay, sand, silt) made up the soil. We want to know about the whole garden area, but it would be impossible to gather all that soil into one big bowl to examine it. Instead we take a small quantity of soil from many spots all around the garden to represent the whole garden.
Then we determined the areas to be sampled – two 35 by 70 foot garden beds. Sample set #1 was from the high tunnel garden and sample set #2 was from the fenced garden. The minimum sample size for any garden less than one acre is 15 columns of soil at 6 inches deep. We borrowed a soil probe from our local soil conservation office (that’s the rod you see in the picture). If you don’t want to bother with the soil probe, you can also dig a hole and take an even 6 inch deep “slice” from the wall of your 15 holes.
We inserted the soil probe into 15 different areas of each garden, removing a 6 inch column of soil in each spot. (Note: We were careful to clear away the mulch before inserting the soil probe).

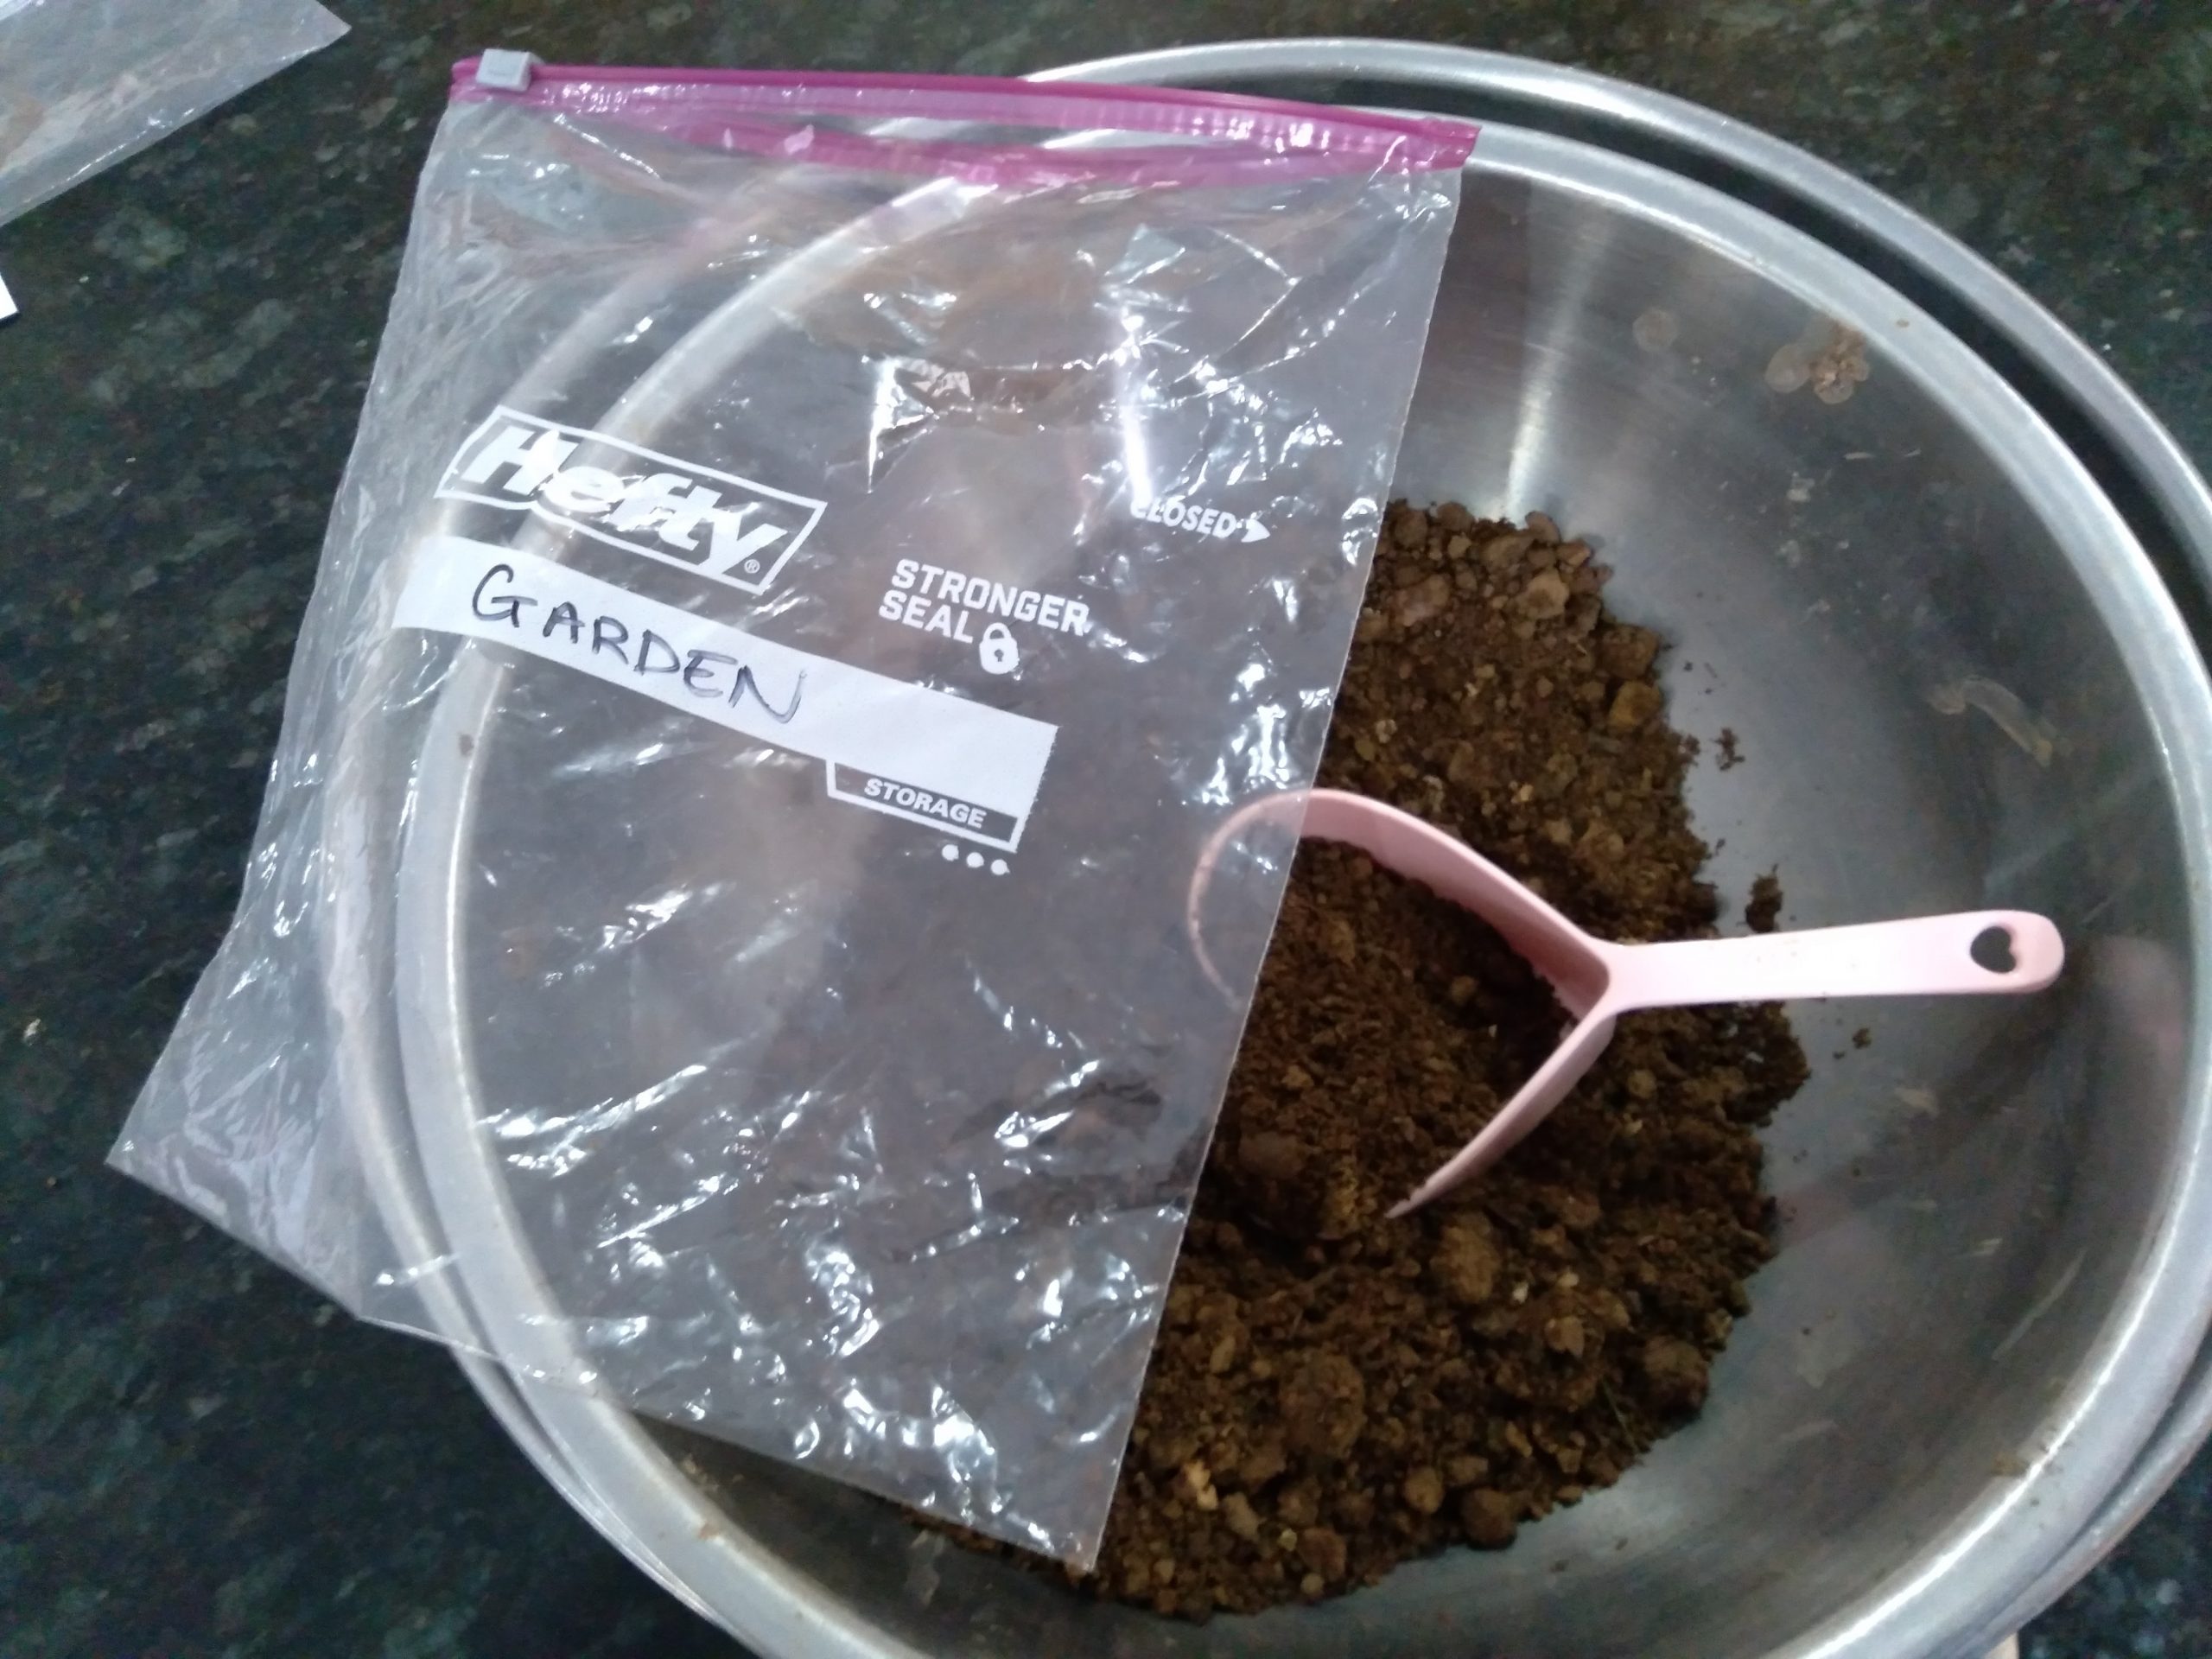
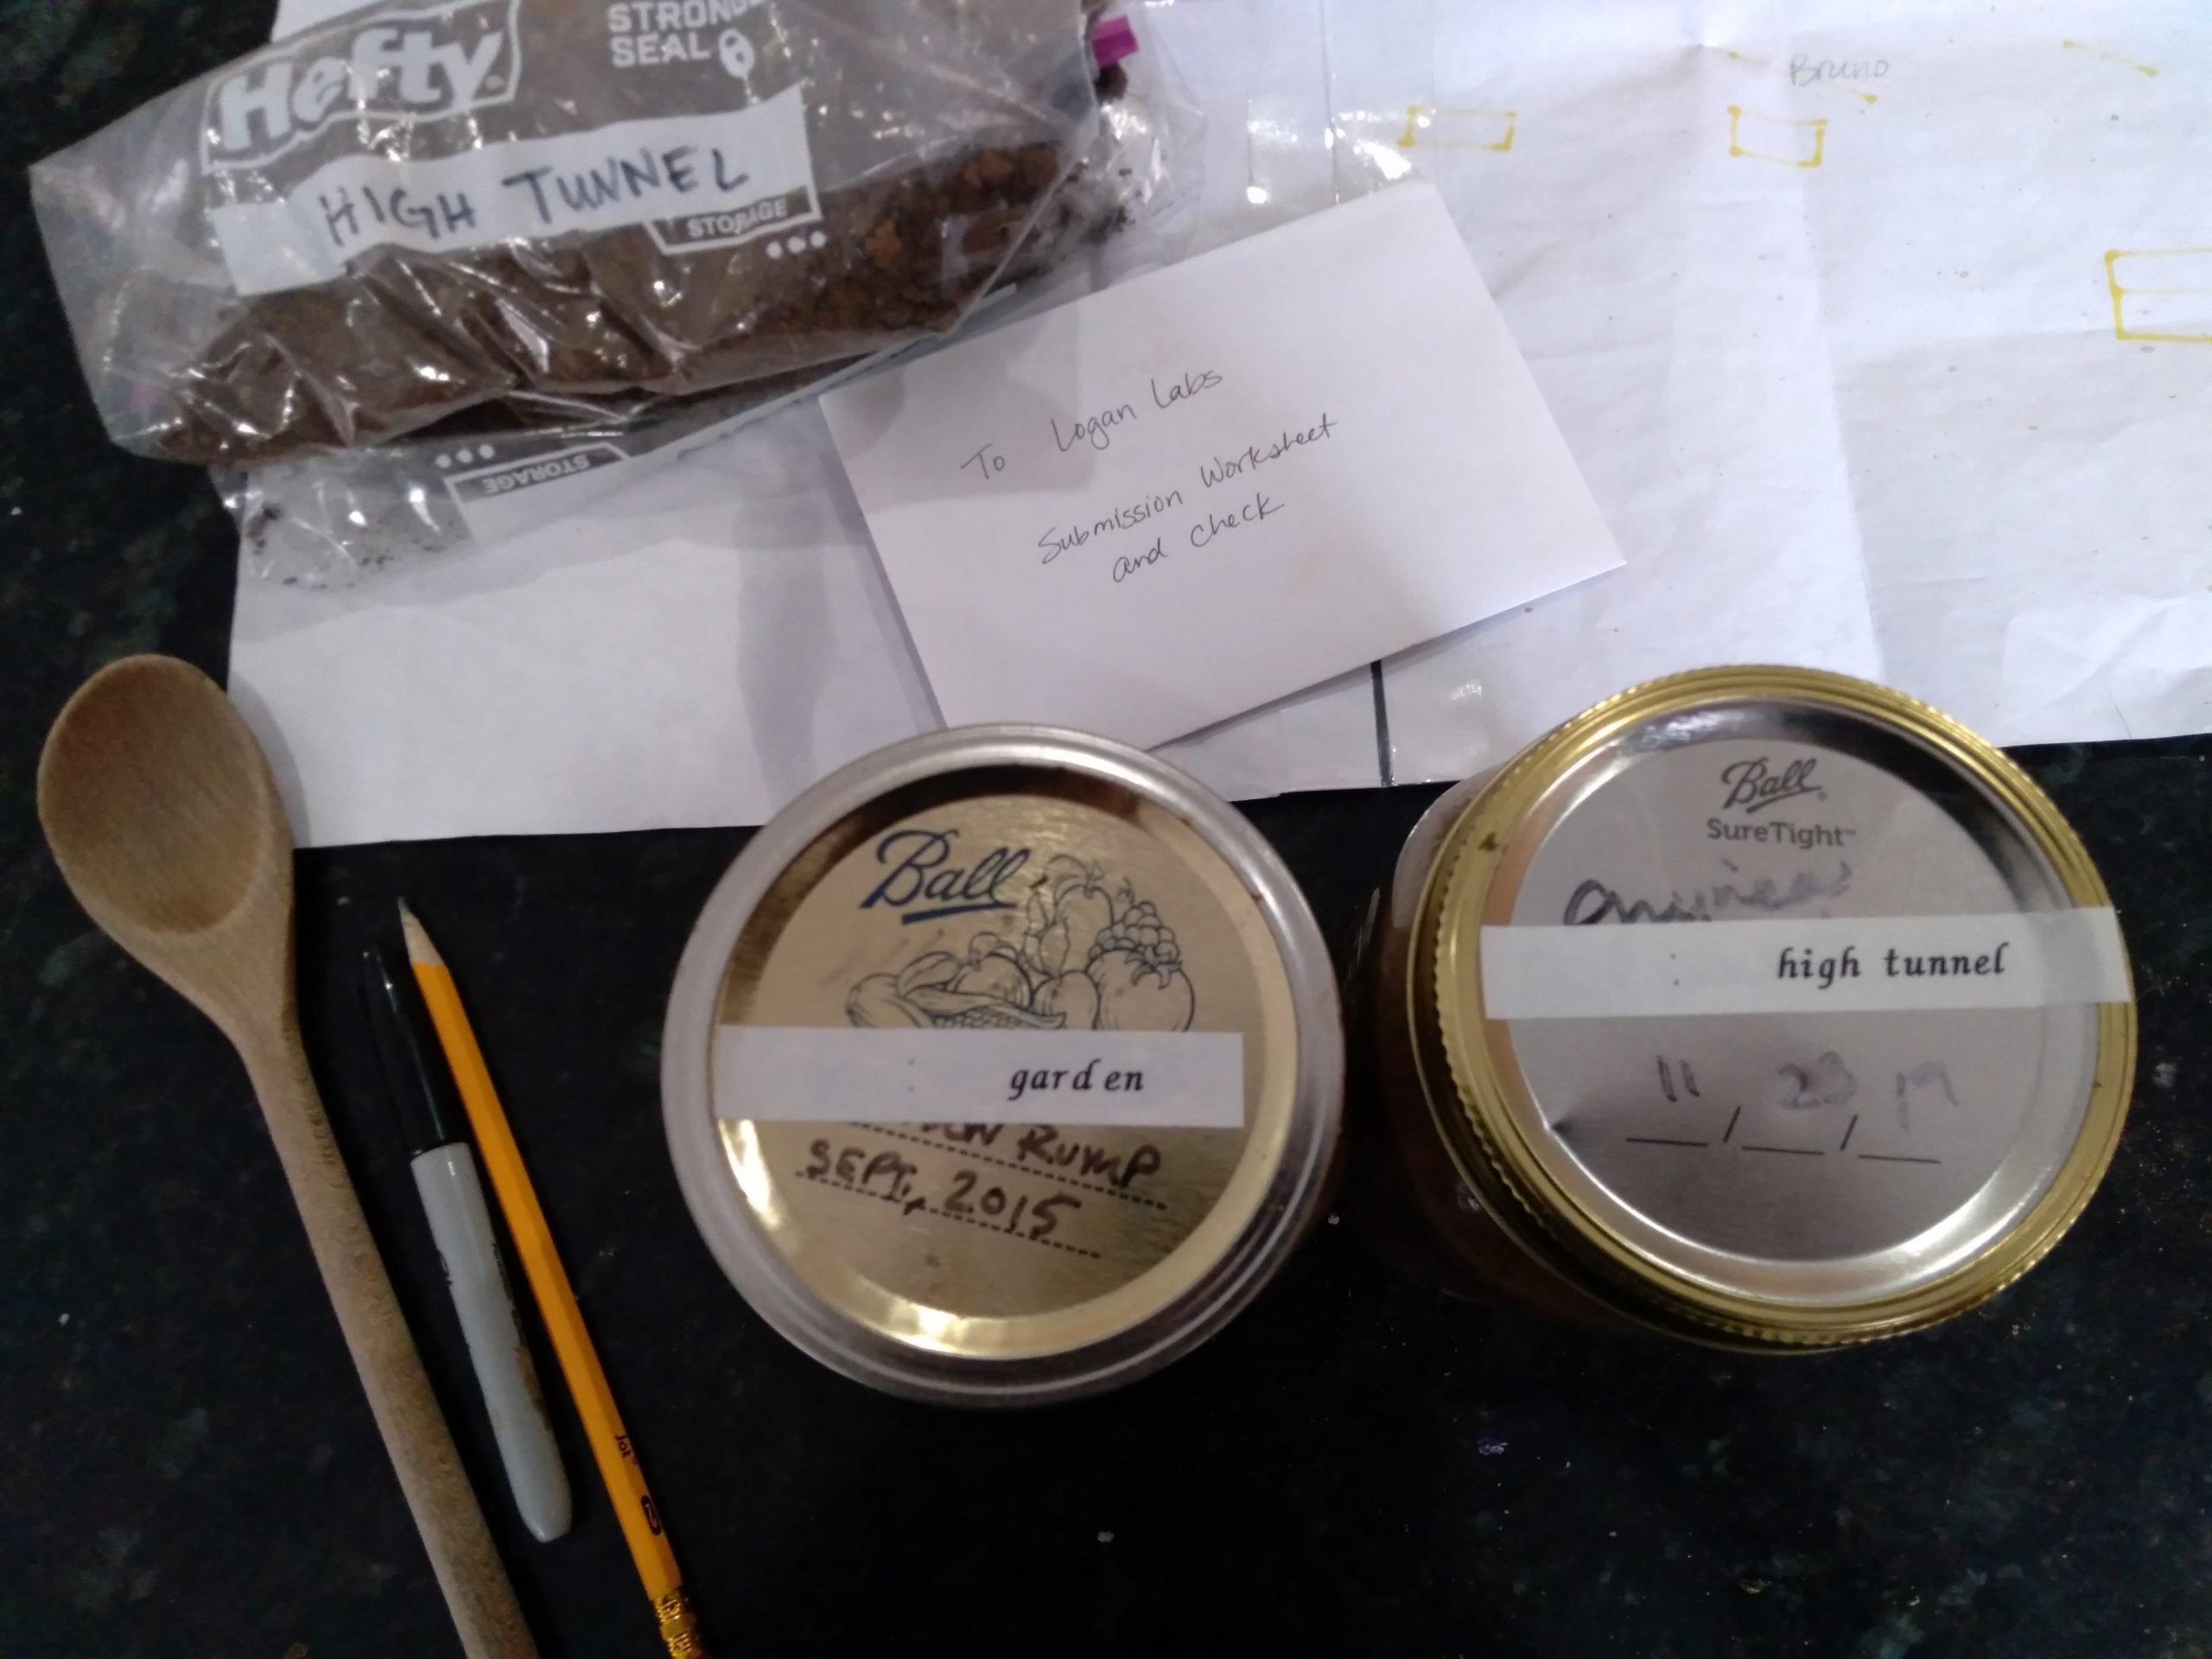
All 15 columns of dirt from the fenced garden were then mixed together in a bowl, that became our aggregate sample #1. Once mixed, I put two cups of my aggregate sample #1 (the bowl of garden soil) in a properly labeled ziploc bag. The 15 columns of high tunnel dirt were likewise mixed in a bowl forming aggregate sample #2. I put two cups of sample #2 in a separate ziploc bag and labeled it accordingly. I sent those two bags of sample soil off to Logan Labs for a detailed chemical analysis.

Second Lesson Objective: Soil Composition (Texture)
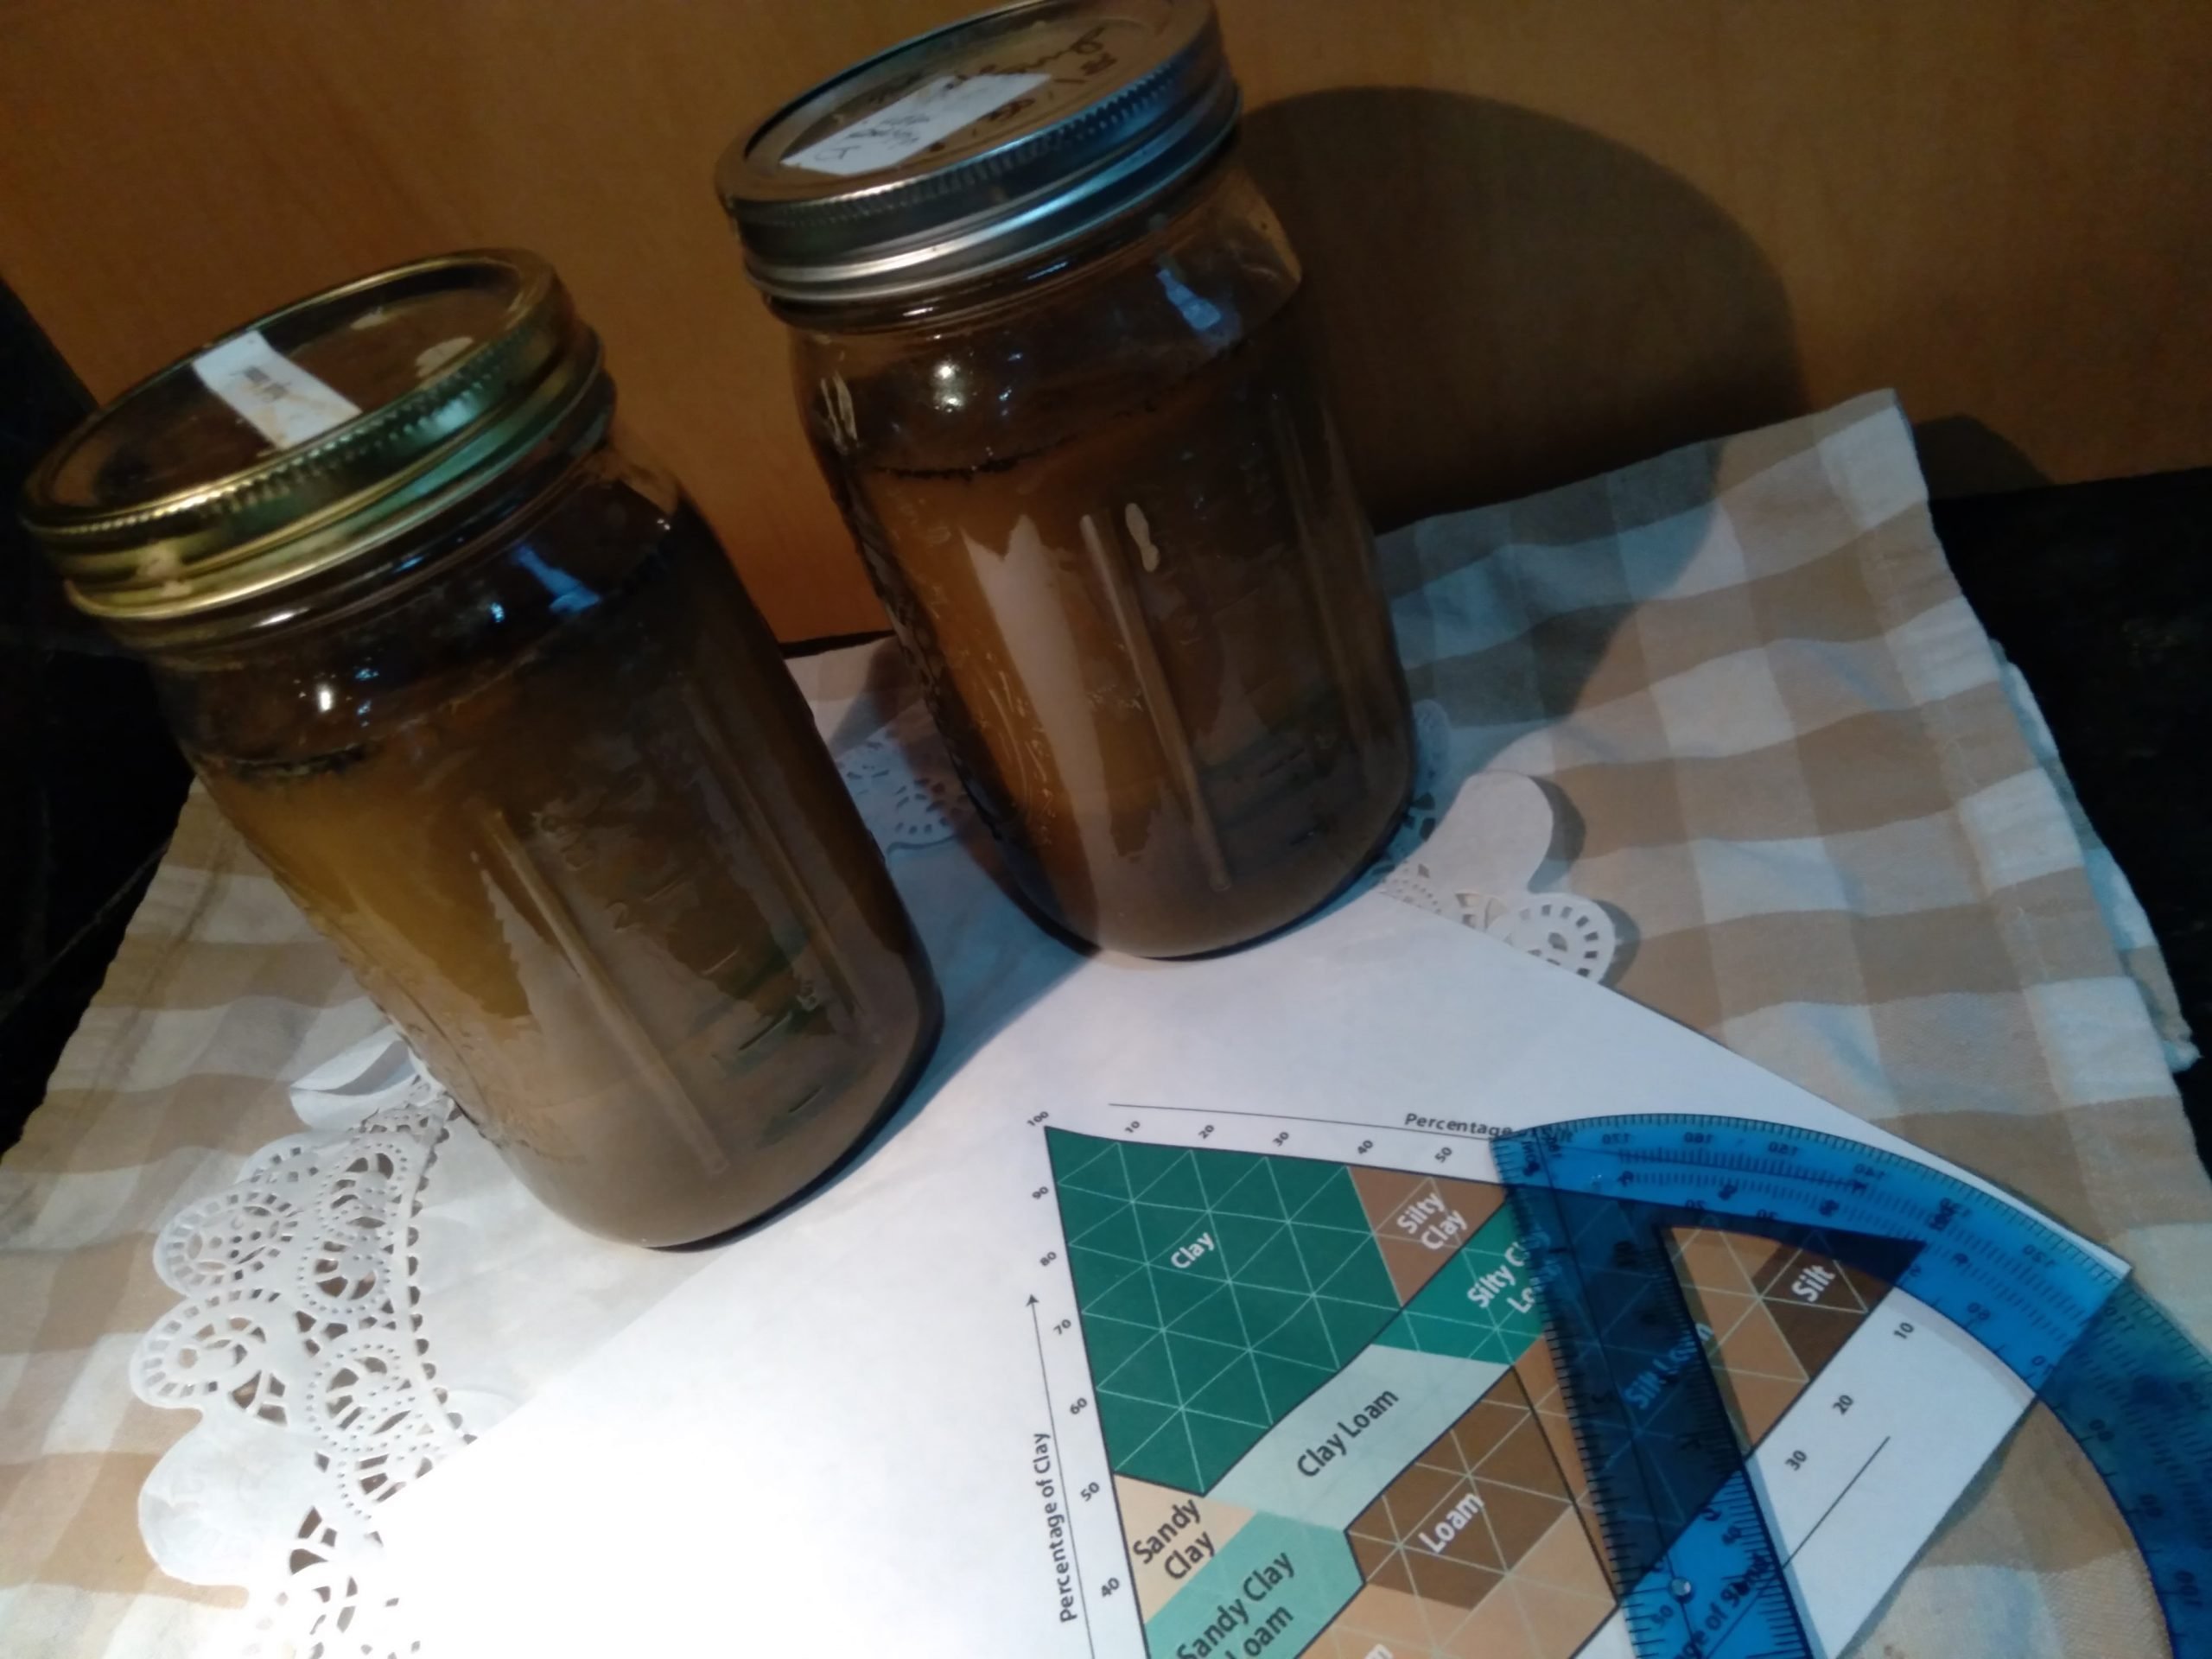
We discussed the three types of particles that soil is made of: sand, silt, and clay. Each of those particles has a different weight and therefore when mixed with water and little dishsoap the particles become stratified in layers as they settle to the bottom. Sand is the heaviest and it settles quickly after the jar is shaken, followed by silt, followed at long last by clay. Clay really takes its time to settle to the bottom and our water never became completely clear.


Instructions for the Mason Jar Soil Test
- Gather an aggregate sample of your garden soil (as described above) and mix it together thoroughly
- Sift out any large particles like sticks or wood chips
- Pour 1 cup of the composite soil sample into a wide mouth quart mason jar (or other clear glass bottle from your recycling bin).
- Add 1 Tablespoon of powdered dishwasher soap and 2-3 cups of water. Allow at least 2 inches of air space at the top for shaking the mixture.
- Stir with a spoon and then put the lid on SECURELY and let your kids take turns shaking it up.
- Get a stopwatch ready and tell the kids to keep shaking until you say “stop”.
- Say “Stop” and set the jar(s) on the counter (or other level surface).
- After one minute use a sharpie to draw a line above the layer that appears to have settled (sand). It might be a little murky, just make your best guess.
- Set your timer for 2 hours. Then come back and mark the top of the next layer to settle (silt).
- Mark your calendar for 48 hours later! And then draw the line at the top of the clay layer.

Third Lesson Objective: Charting with Percentages
The percentage of each type of particle in your mason jar soil test tells you what type of soil you have. Measure the total depth/thickness of soil in your jar (Hint: the math is easiest in mm or cm). Then measure the thickness of each of the three layers. Determine what percentage of the total soil sample each layer makes up by dividing the individual layer’s thickness by the total depth/thickness of soil in the jar, then multiplying by 100. Use a soil texture chart like this one, to triangulate what type of soil you have.
The test confirmed what we knew from the extension agency website. The soil composition around here is silt loam [Albeit with a fair amount of shale!] — an excellent soil for growing crops!


Leave a Reply