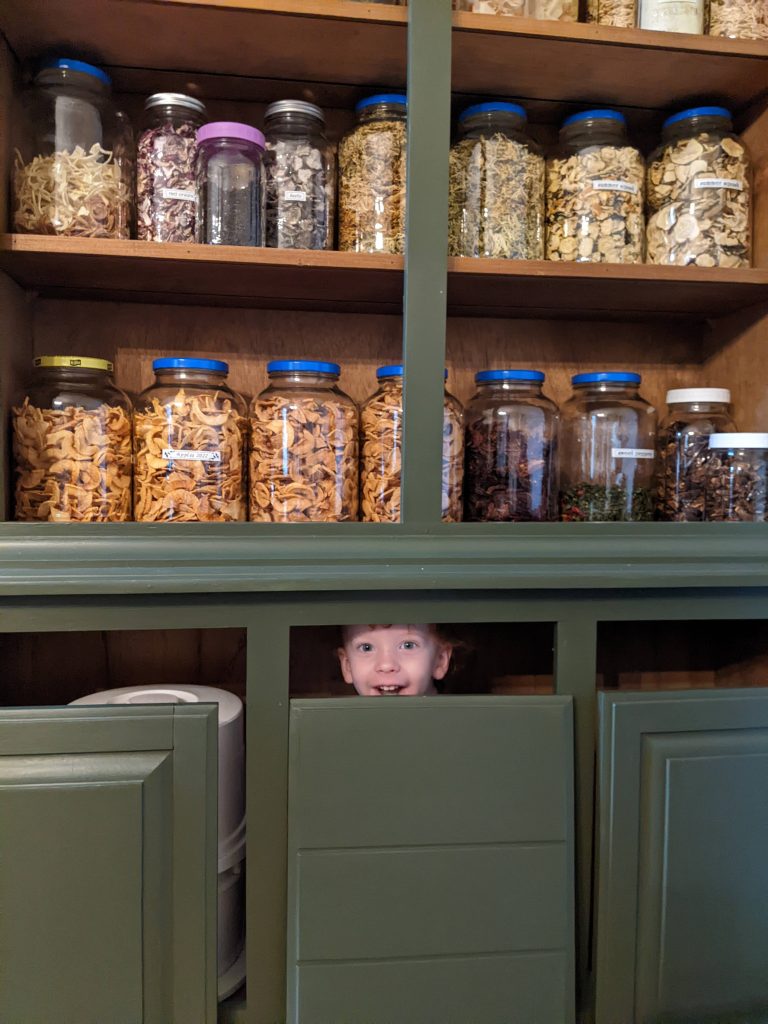
Here are the details that I promised on how I transformed an old hutch into a lovely apothecary cupboard. With so many homegrown herbs and herbal concoctions on hand, my kitchen cupboards were overflowing! I am grateful to have a safe and more organized place to store them.
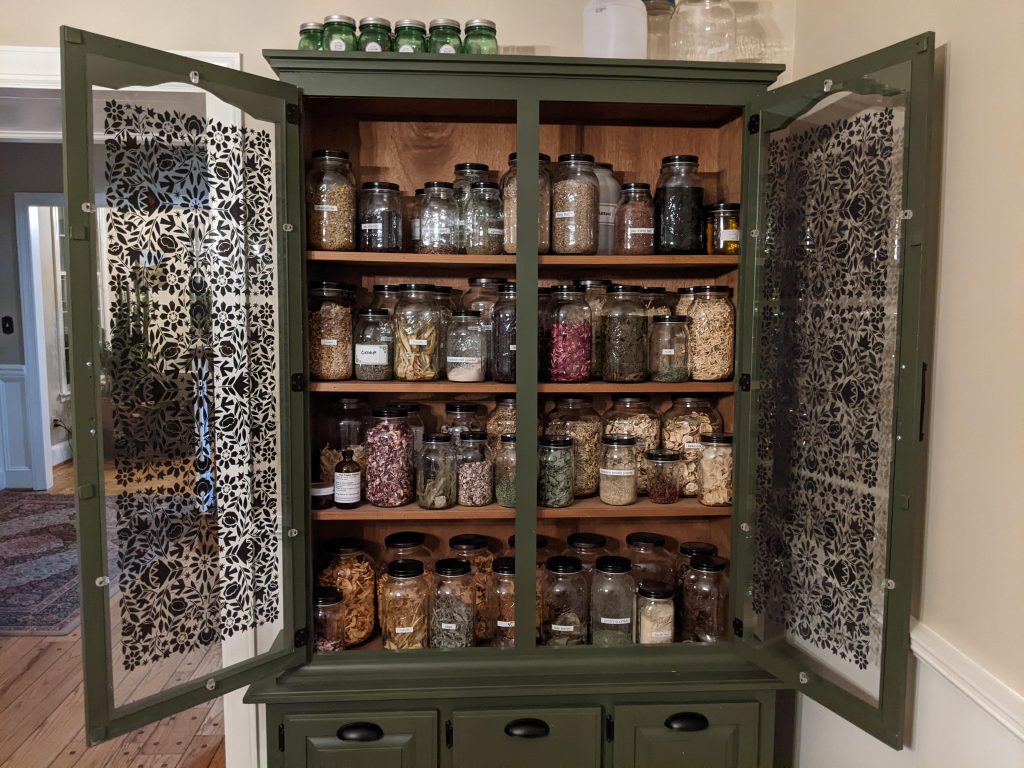
The Inspiration
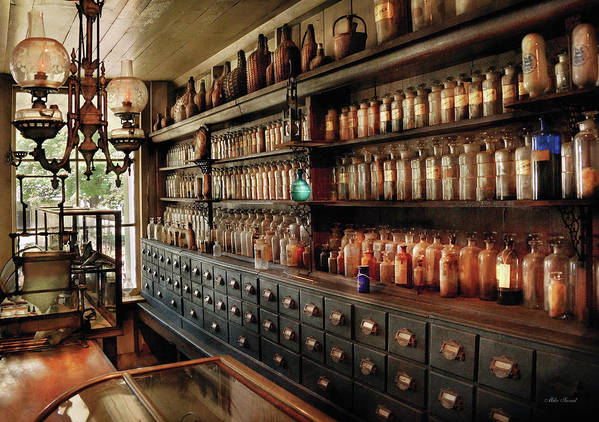
Old fashioned apothecary shops, pharmacies, and Brambly Hedge illustrations inspired my search for the right piece of furniture for this project.
The cozy illustrations of herb storage in Brambly Hedge are a delight. They gather and store food so beautifully.
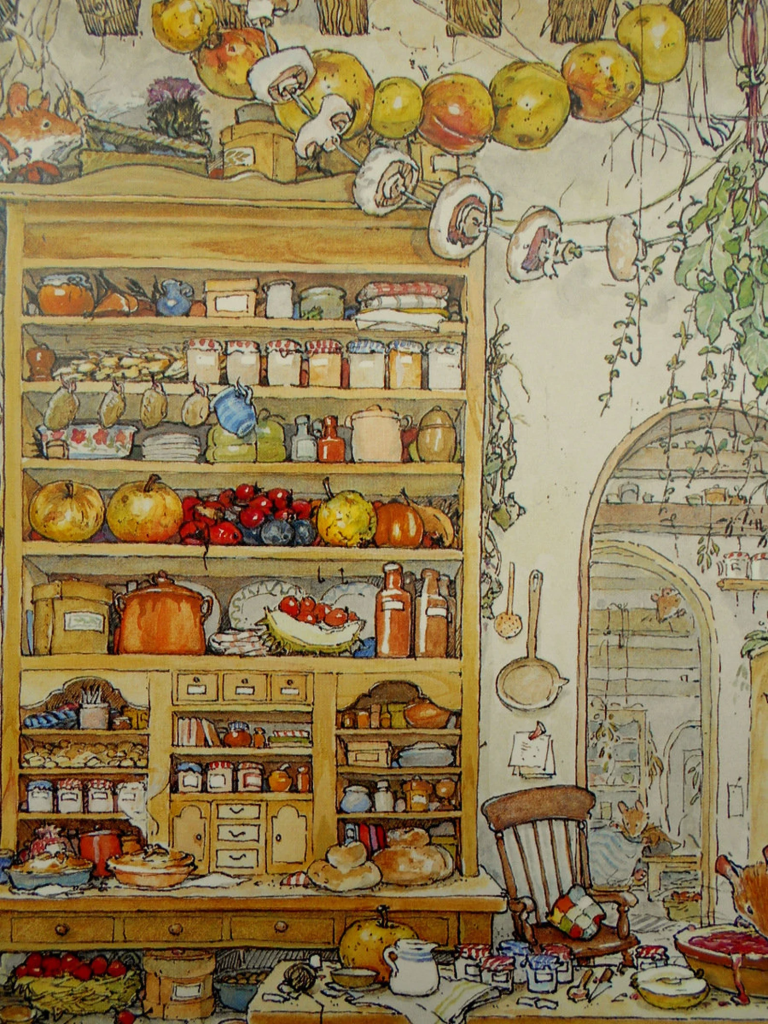
Based on these images, I knew that I wanted:
- a tall hutch/cupboard with at least 4 shelves
- uniformity among my storage jars
The Before
I found this pantry hutch on Craigslist. I loved that it was tall, but also lightweight. I found several huge hutches that were daunting to transport and likely too big for the space that I had available.
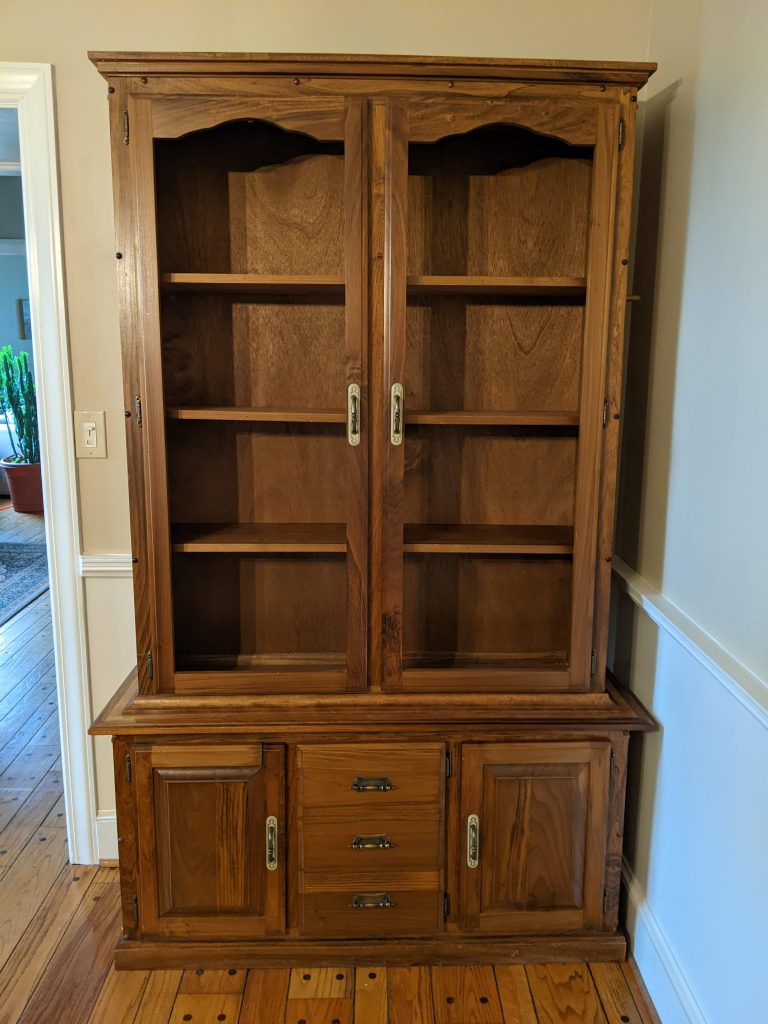
During the Transformation
Step one was pretty easy! Take off all the old hardware and hinges.
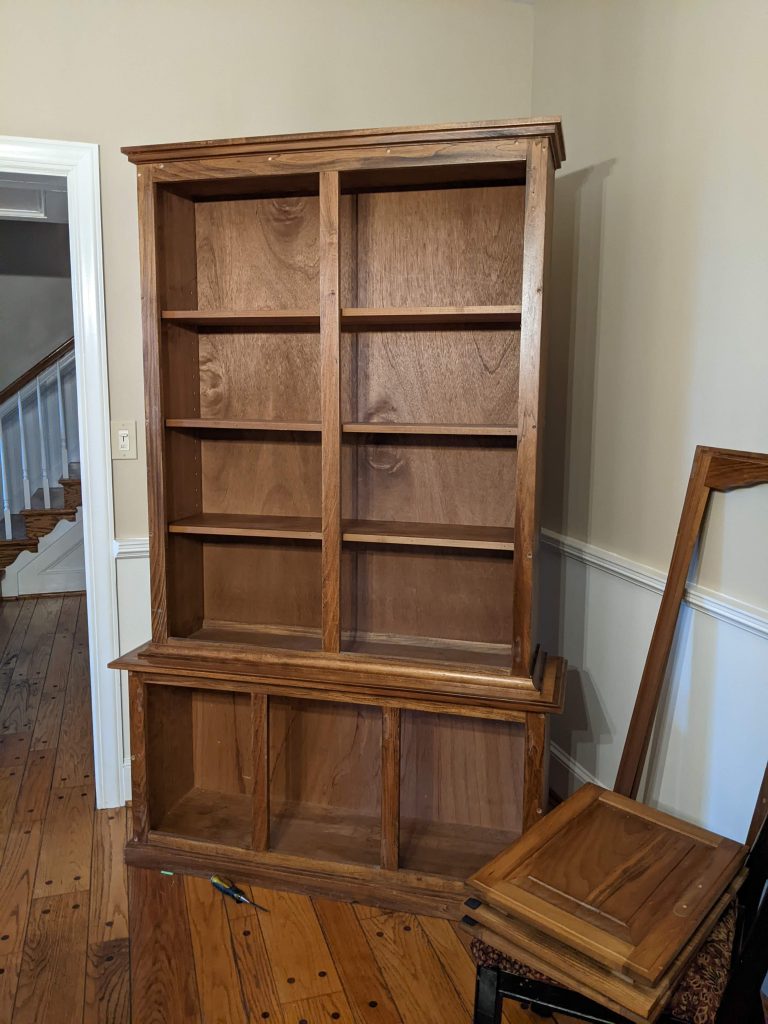
I felt that all the little knobby screw covers made it look dated. I levered those out and filled the holes with wood putty instead.


Step 2: Prime and Paint
I used a thin coat of Zinsser Bulls Eye 1-2-3 primer on the surfaces that I wanted to paint.
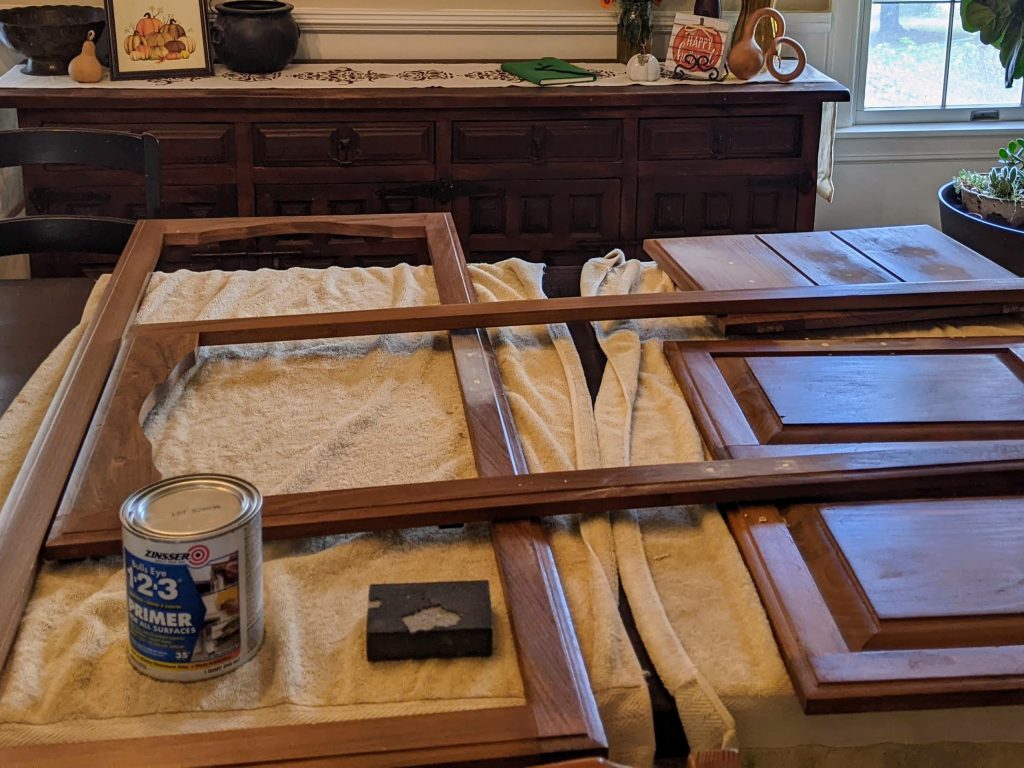
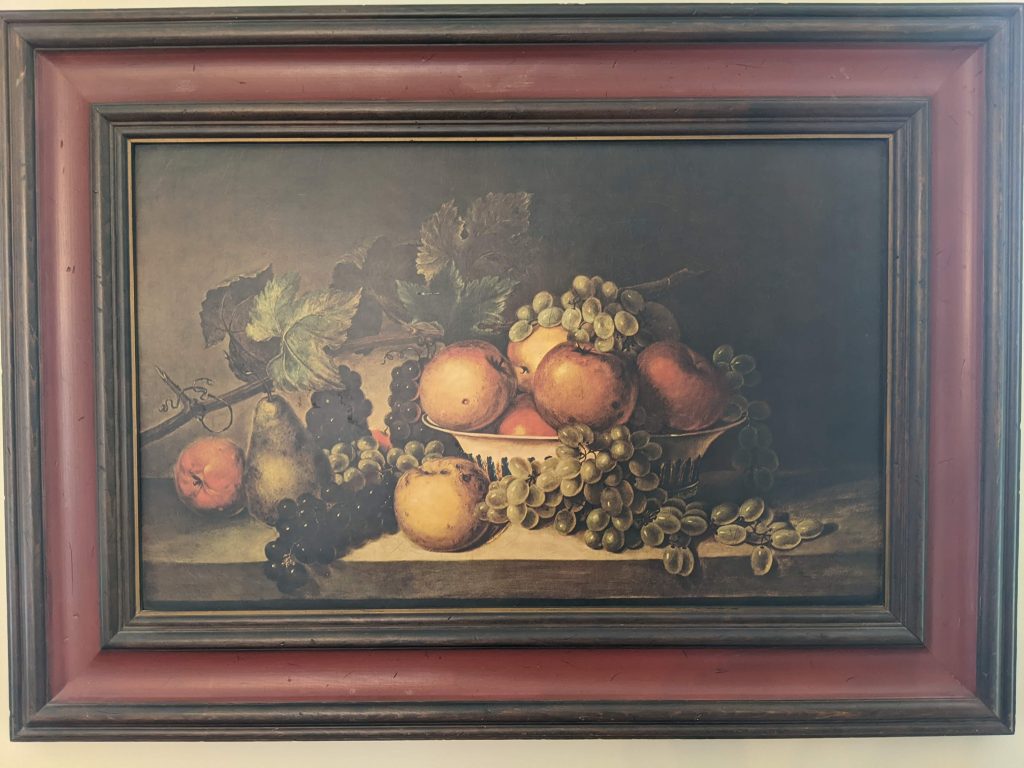
I chose the color to match the green tone in a print that hangs in my dinging room. The paint color is BM Dakota Woods.
Finishing Touches: The stenciled glass
My dining room has a sunny South Eastern exposure. My new apothecary cupboard was not facing the window, but I worried about sunlight degrading the quality of my herbs. One way to address this would have been colored glass jars. They were hard to find and those that I did find were wildly expensive for the quantity and sizes that I wanted.
I debated replacing the glass doors with fabric (too country for my style) or closing off the doors completely with wood or punched tin (but I wanted to see the pretty jars). I found that I loved the folk art on old scandinavian pie safes and pantry hutches.


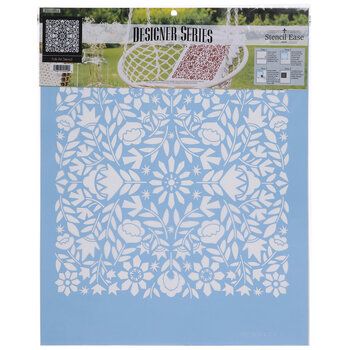
I set out to find a stencil that looked like folk art, since I’m definitely not artistic enough to paint something like this free hand. Here is the one that I found. It’s from Hobby Lobby of all places!
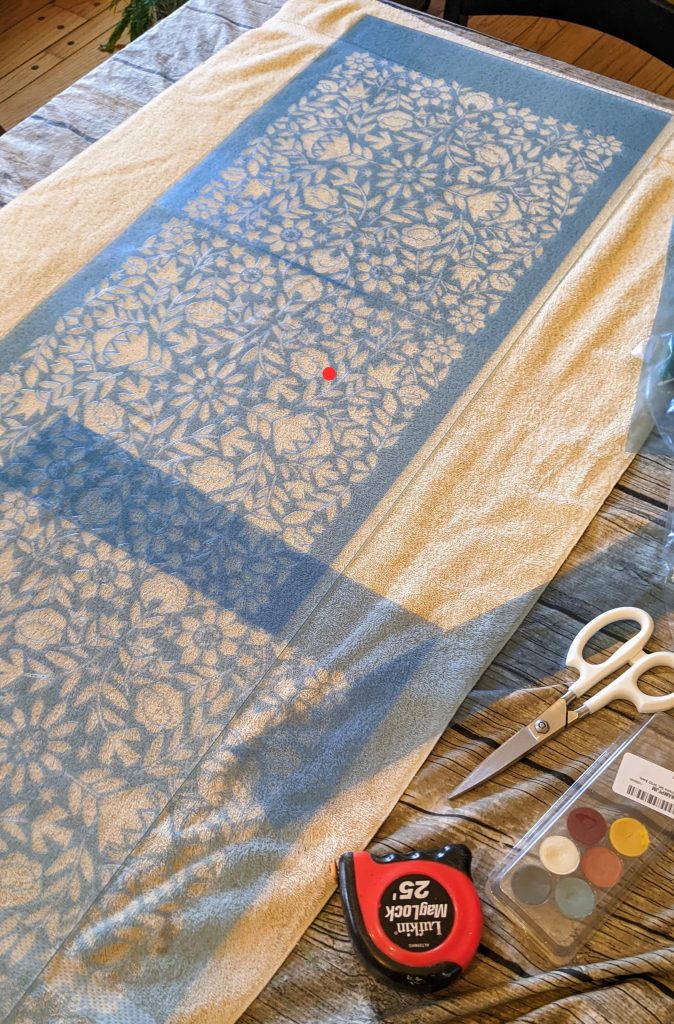
I used this FolkArt Stencil Paint set in Old Glory and Original. I mixed colors with some other paints that I had on hand to darken the colors, a very silly way to add complexity to the whole process. I do not recommend doing that. I already have another one of these in mind to work on, but will definitely try a different stencil paint for that one. Amazon no longer sells the exact set that I used, but these are similar hard bristle brushes. For stenciling the paint is quite dry and you need to tap rather than brush the paint down on the glass.
Instead of trying to clean this stencil and reuse it, I bought 6 of them and used each one only once. The stencil material was thin and flimsy. The design was intricate. I still felt that it was worth the money to make sure that it all turned out well.
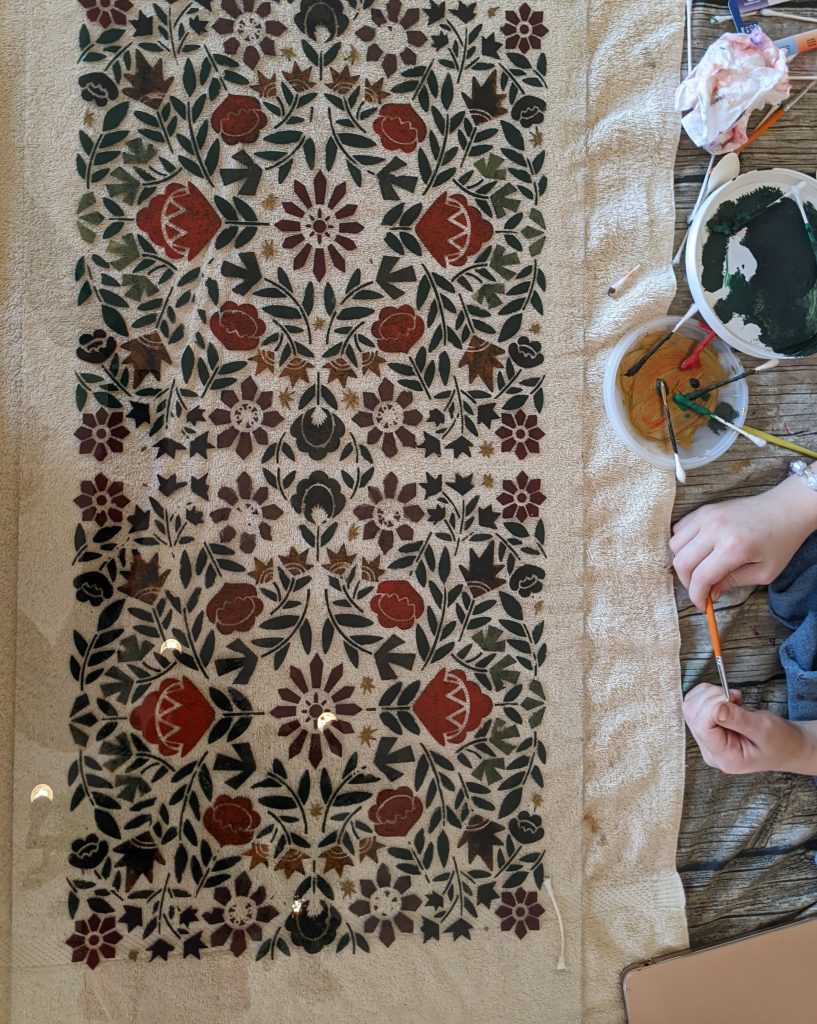
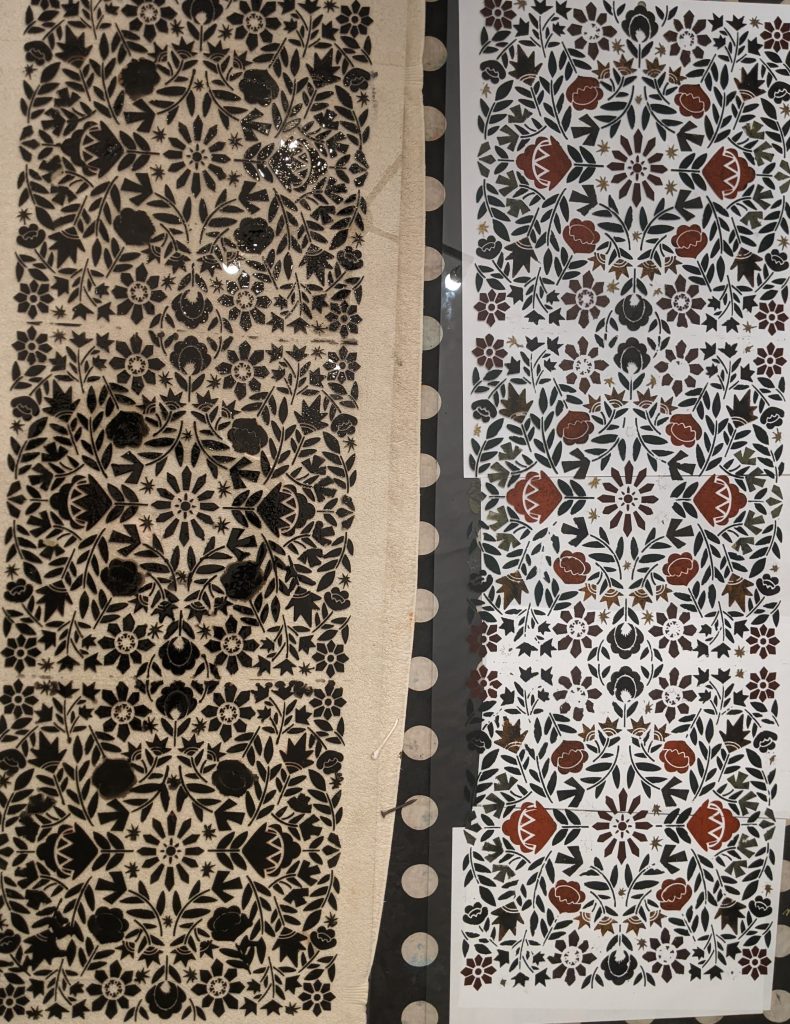
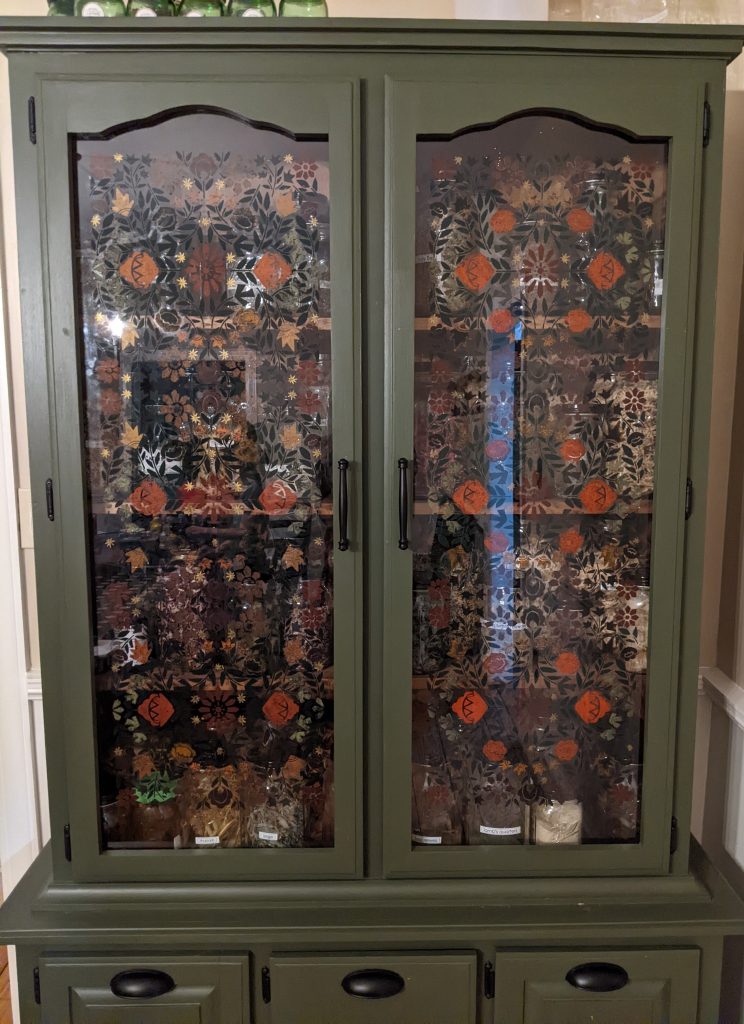
One trick that worked really well for making the stencil stand out on the glass was to do a second coat of black stencil paint behind the colors. Otherwise, they look overly transparent, no matter how thickly I applied the colors. There were a lot of touch up to do when I removed the stencil.
Here is what the black back looks like:
Hubby re-attached the glass with sturdier clips. The glass is quite thin and unfortunately there is a high probability that one of these days someone will slam the door too hard and break the glass. Hopefully, I’ll be ready for a change by then haha.
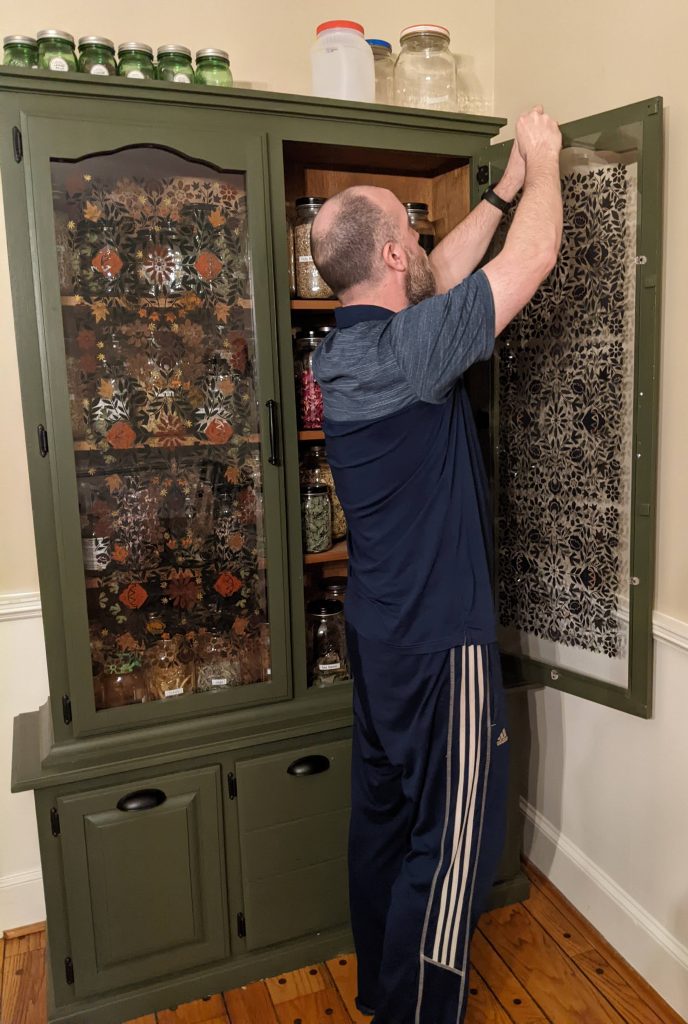
I love how this turned out. Pretty, folksy, AND functional!


Leave a Reply