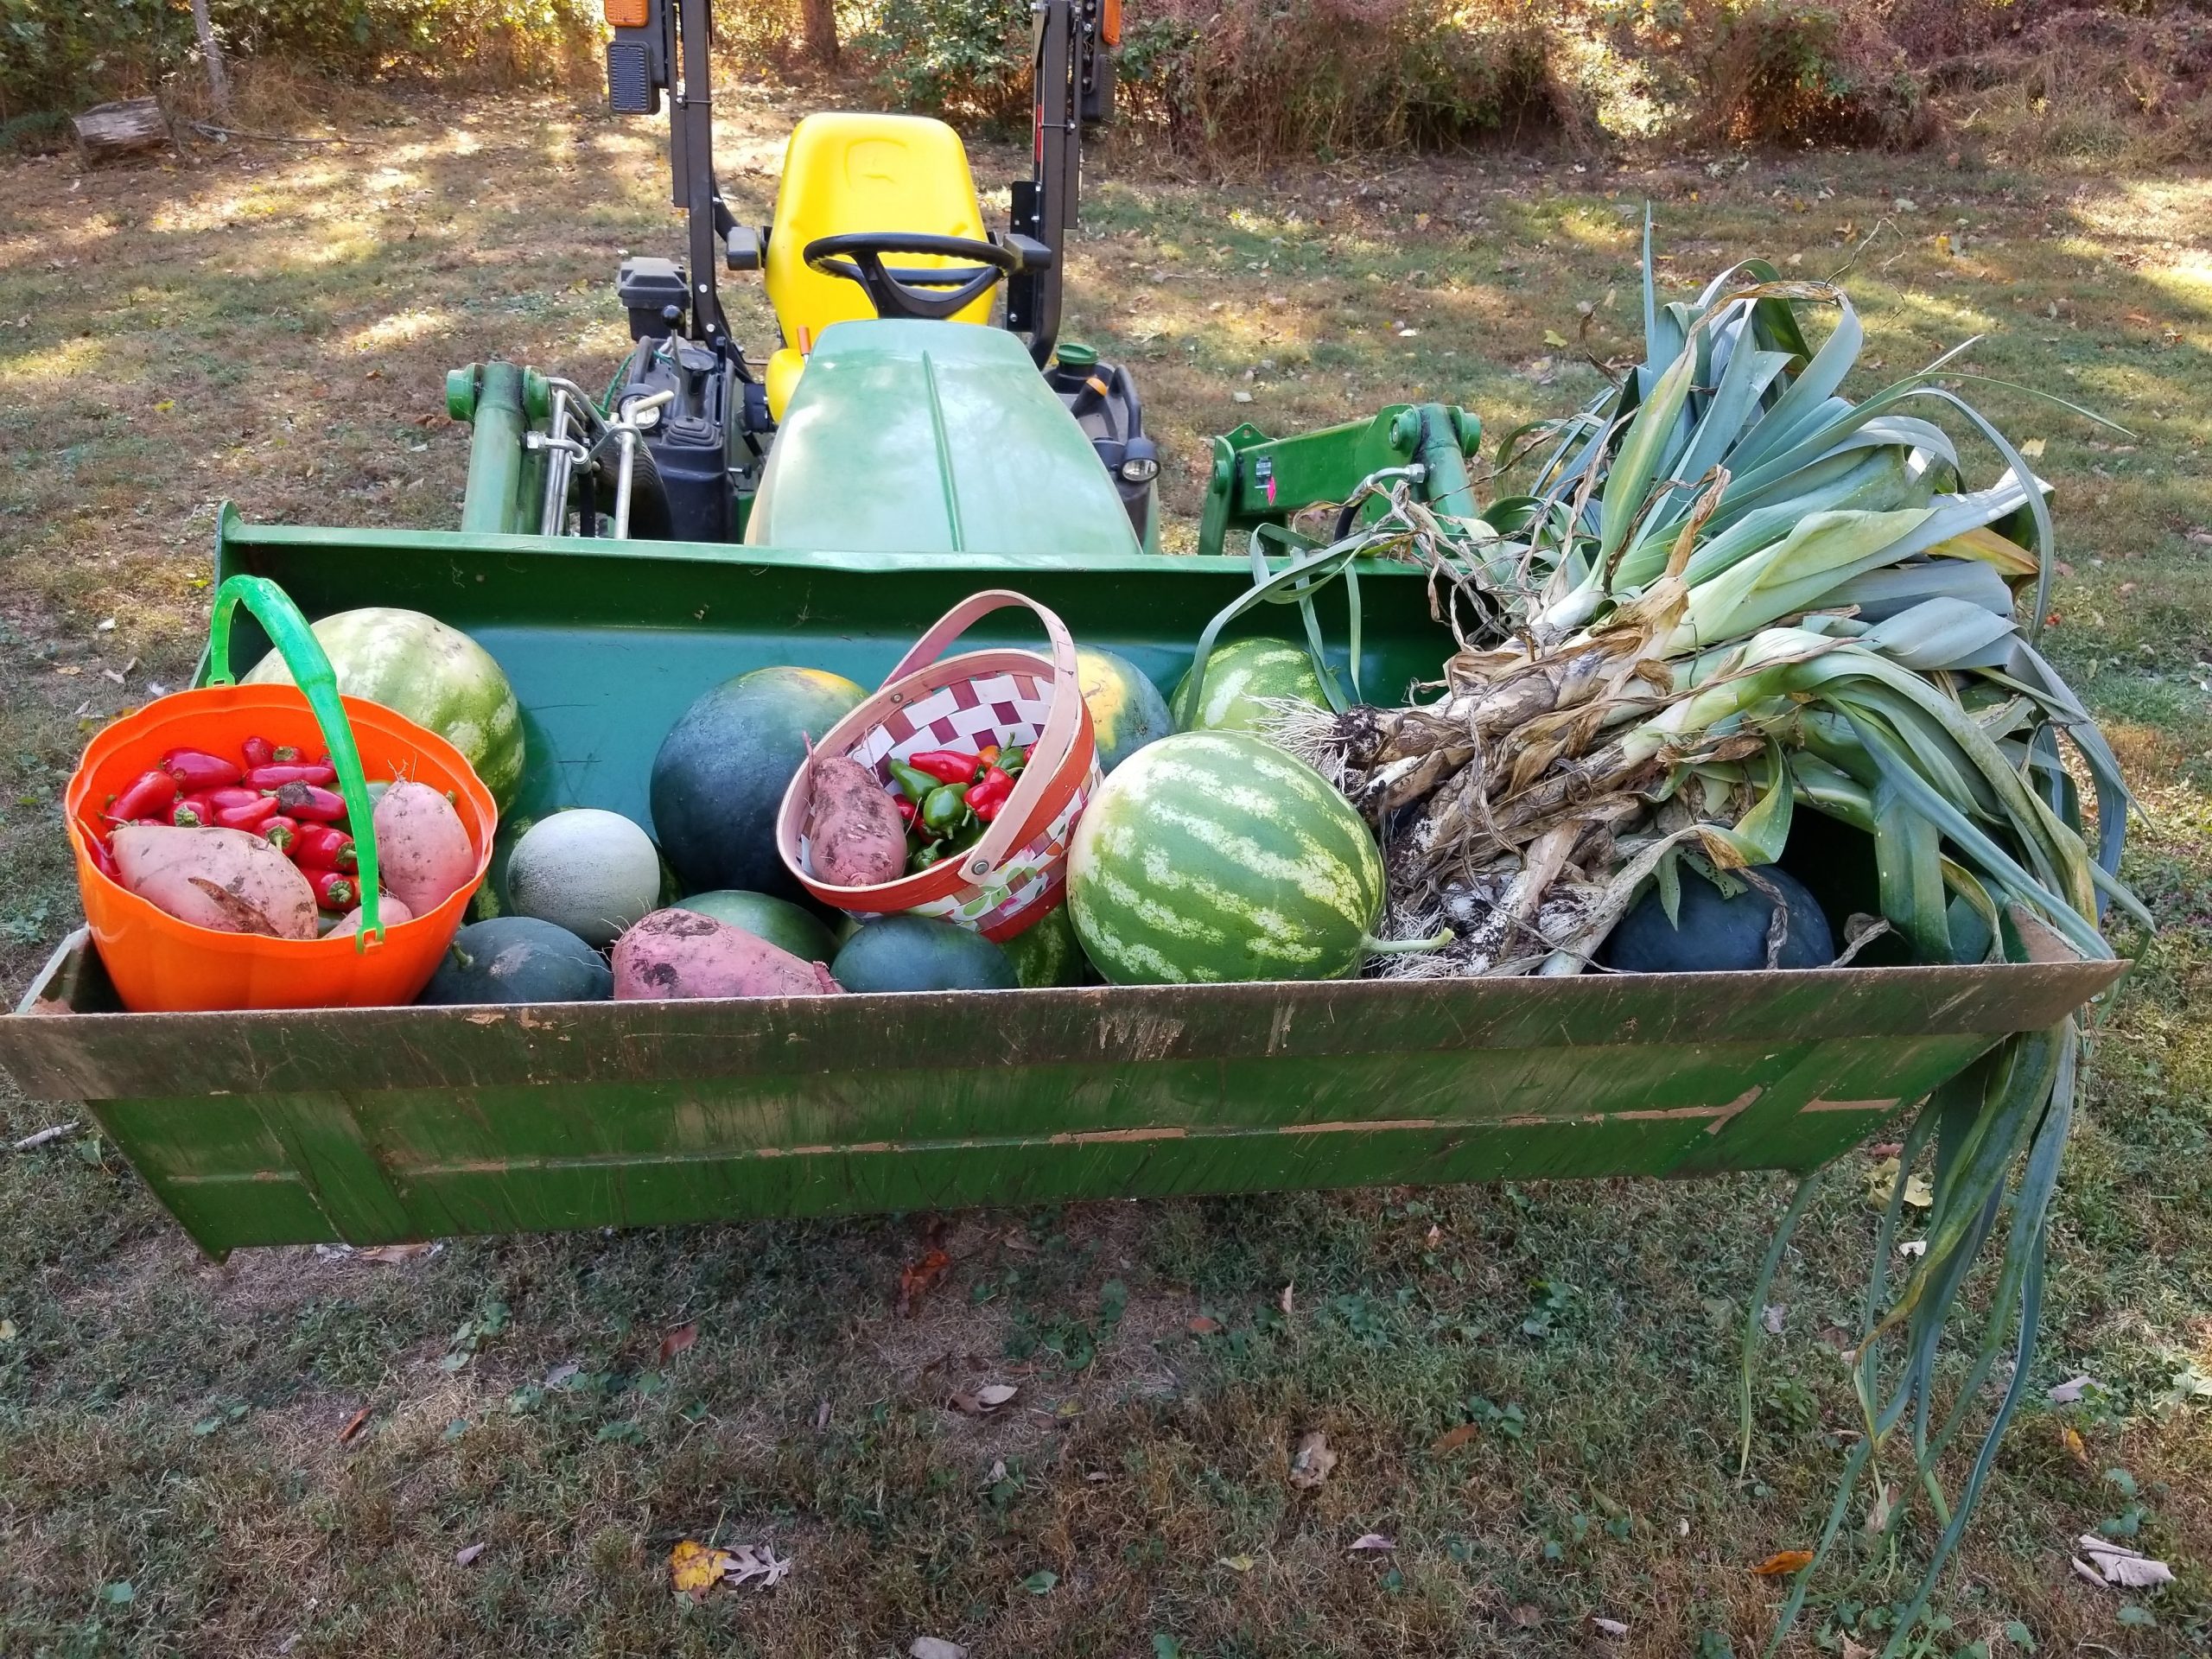
Winning Answer: Growing a nutrient dense bumper crop!
How nutritious is your soil? Do you know how to feed your soil to balance macro and micro nutrients?
I didn’t either until I started studying William Abrecht’s research. Soil scientists like William Albrecht have spent their entire careers figuring out how to balance soil nutrients for the best yields and healthiest plants. Healthy soil grows healthy nutrient dense crops!
The first step is easy. Get a soil test from a reputable lab so that you know how balanced your soil is now and what you can do to improve it.
Step 1: Get your soil tested
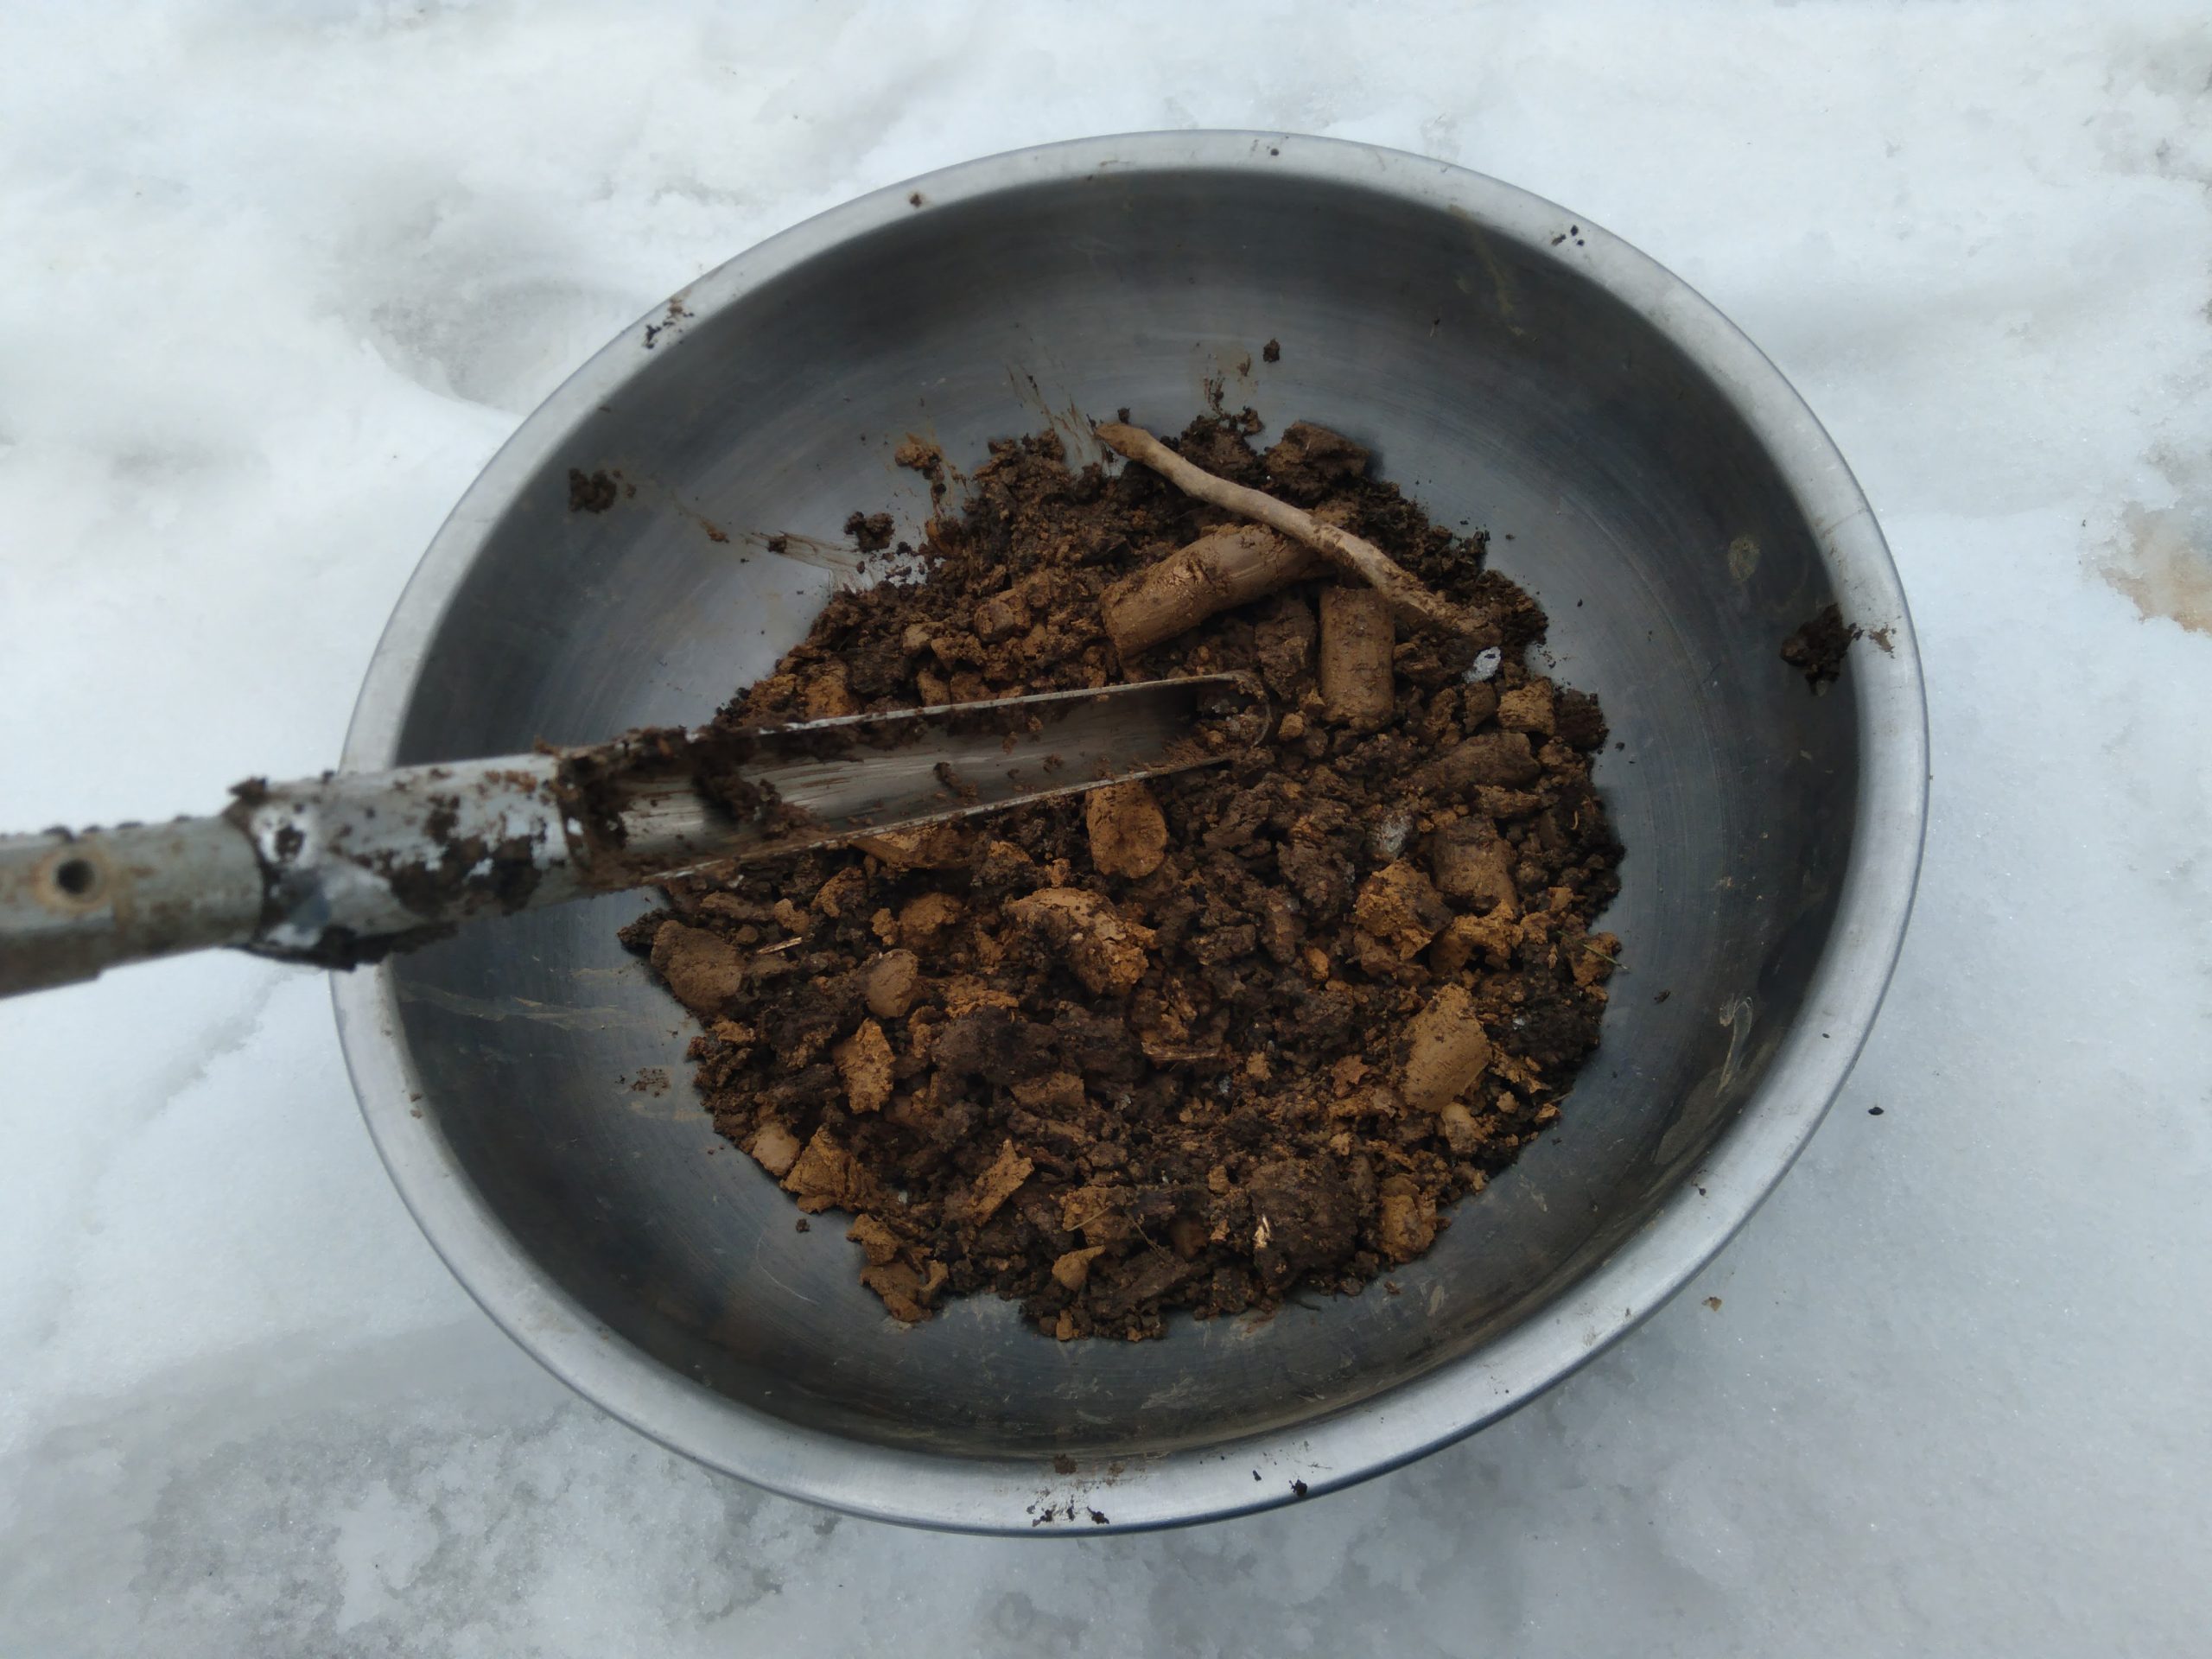
We did our soil testing this week and took pictures so that I could share some of the process with you. We borrowed a soil probe from our local soil conservation office (that’s the rod you see in the pictures).

We inserted the soil probe into 15 different areas of the garden, removing a 6 inch column of soil in each spot. (Note: We were careful to clear away the mulch before inserting the soil probe). All 15 columns of dirt from the garden were then mixed together in a bowl, that became our composite sample. Once mixed, I put two cups of my composite sample (the bowl of garden soil) in a properly labeled ziploc bag.
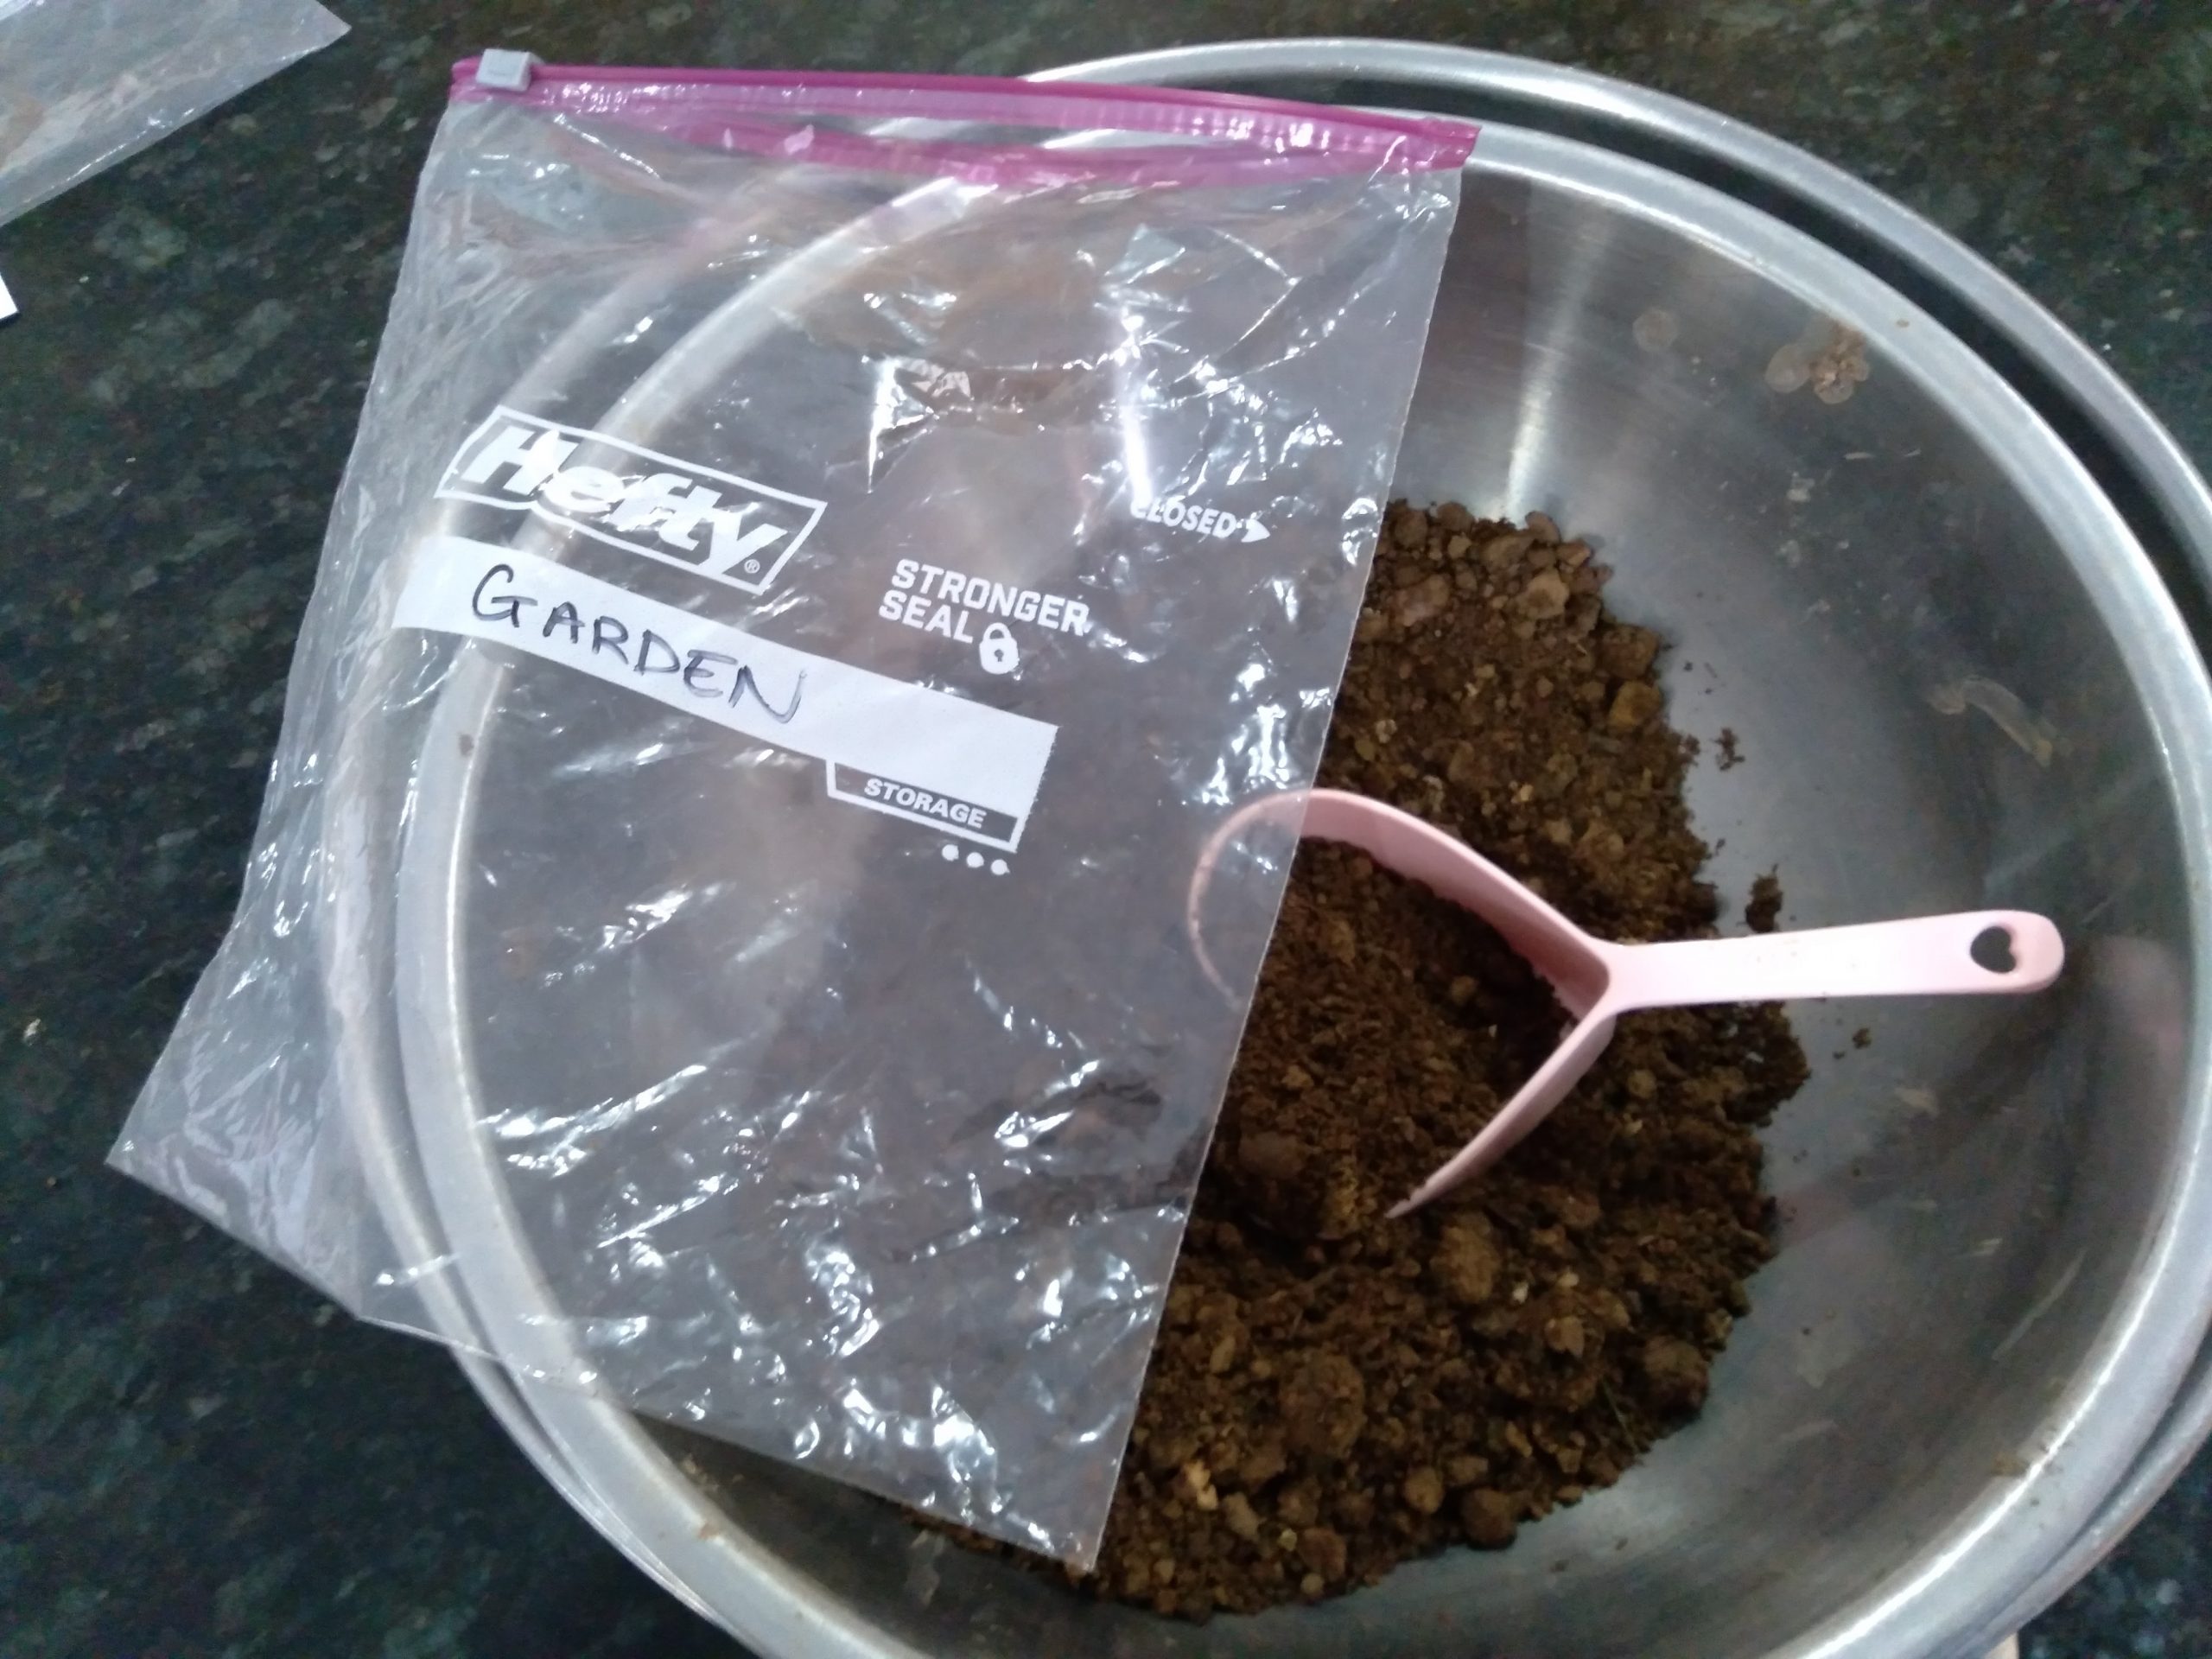
We repeated the whole process to create a composite sample of the high tunnel (greenhouse) soil. I put the two ziploc bags of dirt in a small priority mail box, along with my order sheet and a check (50$), and mailed them off to Logan Labs. They will send me the results from my two sample areas via email message.
Step #2: Know what nutrients your soil needs
Remember: Healthy soil grows healthy plants! So what’s in your soil? Or what SHOULD be in your soil?
Scientists are turning their microscopes to the soil and learning that the microbiome of soil is in many ways similar to the very trendy topic of our human microbiomes. Soil is not a static mix of nutrients, clay, silt, and sand. It’s alive! Good soil is teeming with life, things visible to the naked eye like earthworms and fungal mycorrhizae, and also trillions of invisible microbes. Just as they do in our bodies, microbes help plants better accomplish many of their life functions. If your soil is well balanced, with proper nutrients, then the microbiome of your soil will function more efficiently.
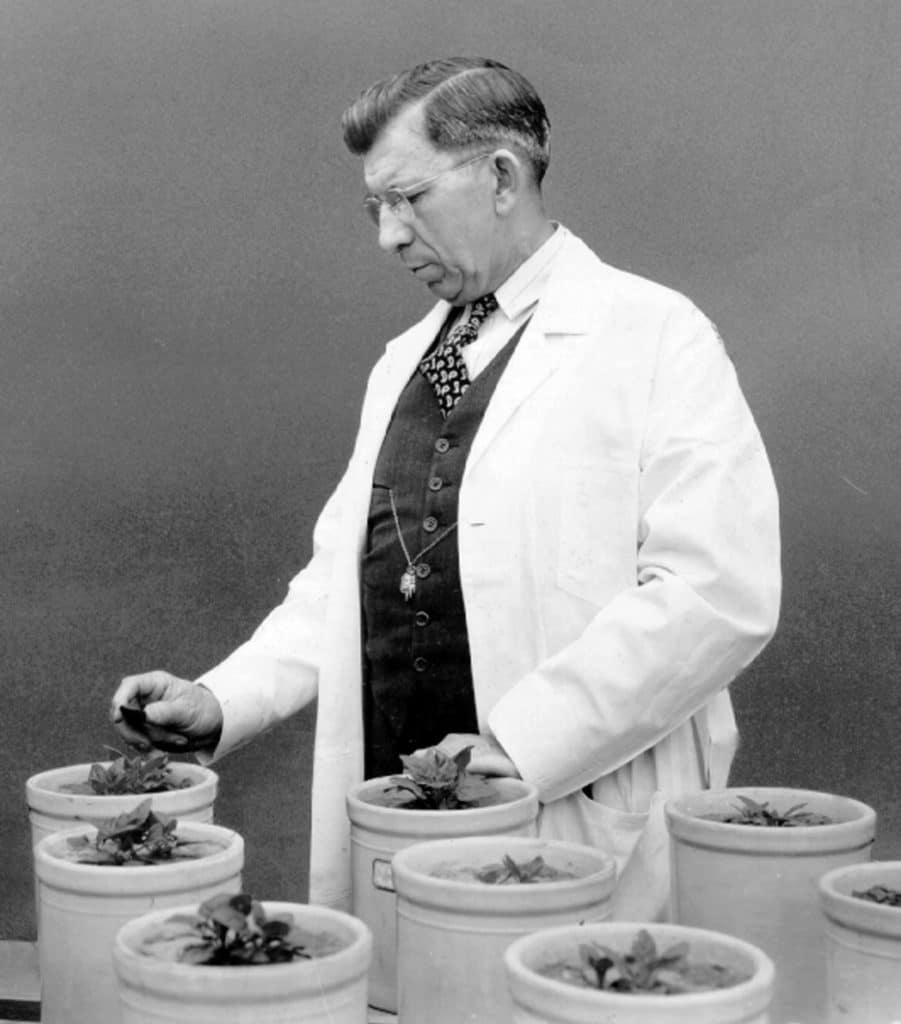
Over the last 3 years, I have been trying to follow the Albrecht method for balancing my soil nutrients. Dr. Albrecht (working in the 1970s) taught farmers to feed the soil rather than just feeding the plants. I send my soil to Logan Labs to be tested because they are one of the few places that follow the Albrecht soil testing method. NOTE: I am not saying that you have to follow the same method, but I highly recommend that you choose a reputable laboratory for your soil testing AND that you stick with the same lab when doing future soil testing. That way you’re comparing apples to apples.
Over 40 years of field testing, Dr. Albrecht found that the best soils had a very similar nutrient profile:
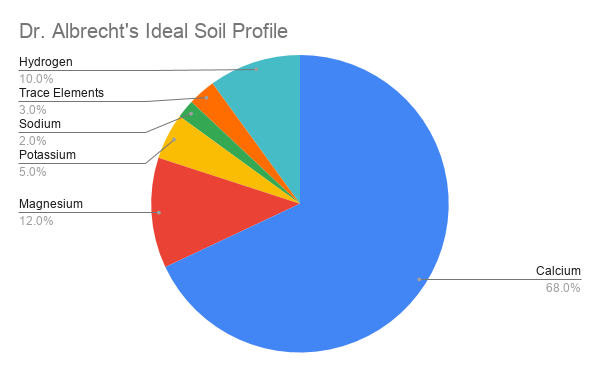
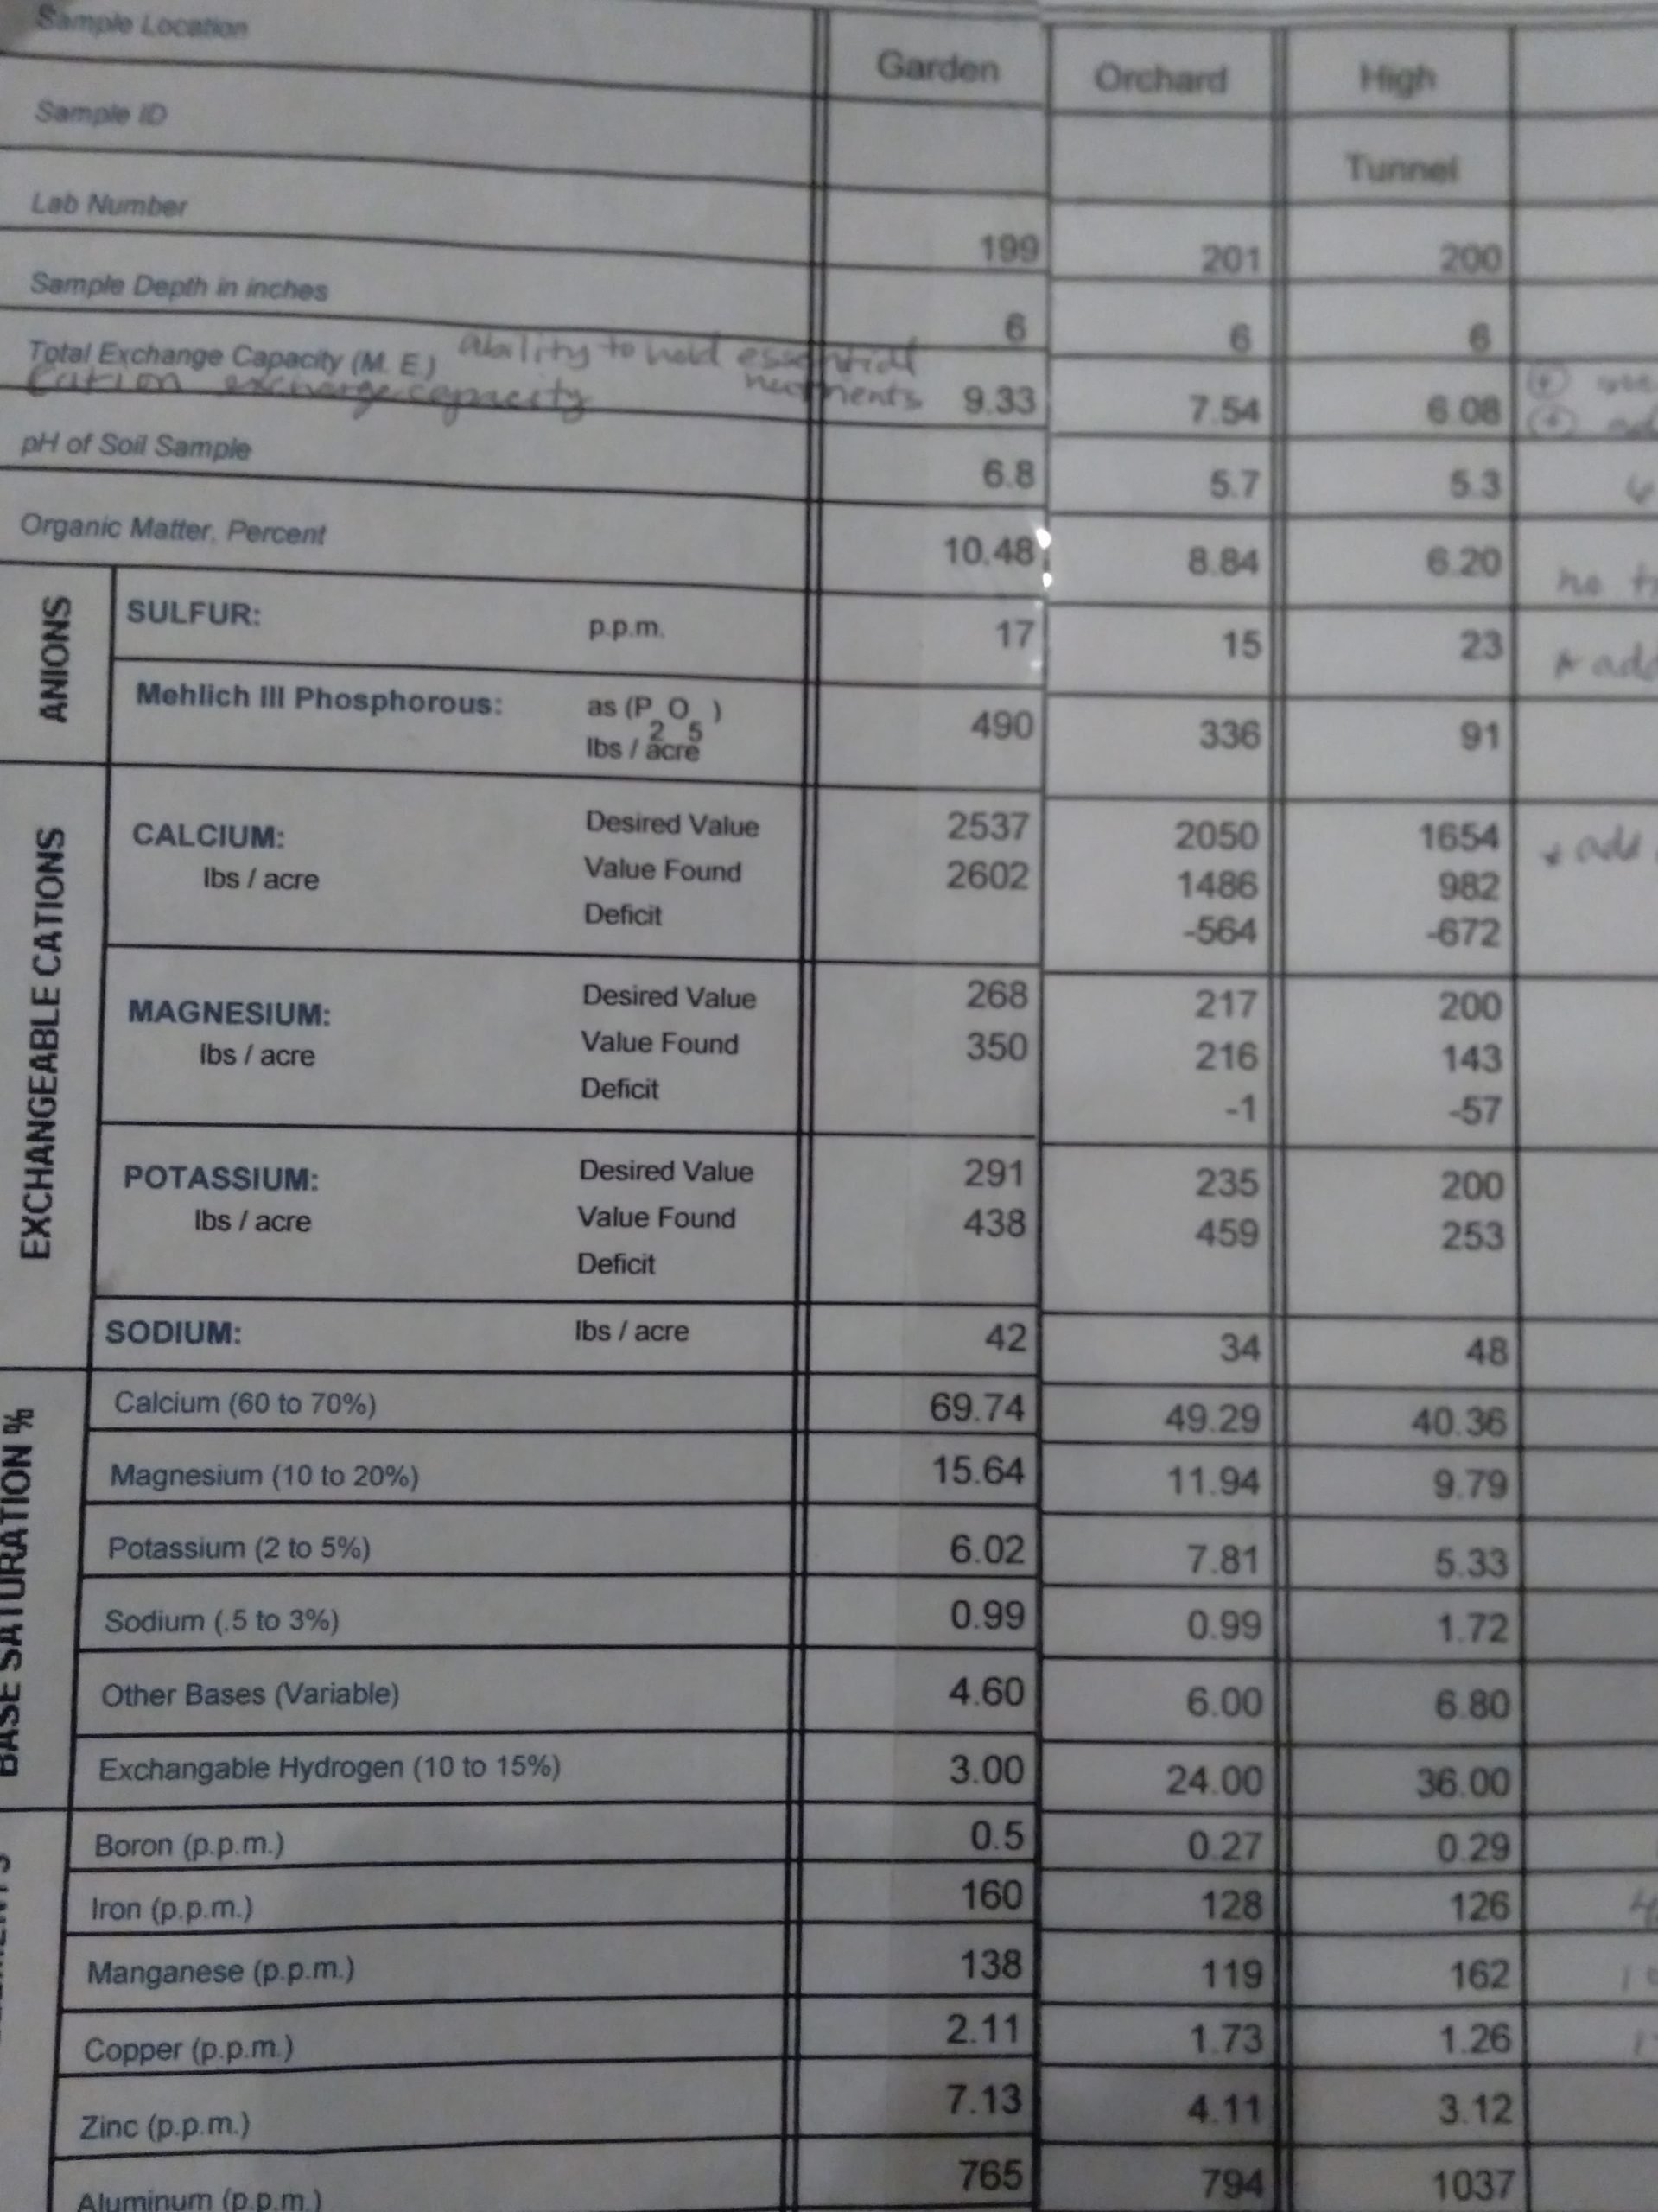
My soil test results, as I shared above, are presented in relation to this “Ideal Soil Profile”. That helps keep things simple. For example, in my soil test results I can see that my hydrogen is low and my potassium levels are a little on the high side. I know from reading more in depth (The book I read is called Hands-On Agronomy by Neal Kinsey and Charles Walters), that the calcium and magnesium levels combined should ideally total about 80 percent. In my garden soil, they are up around 85 percent.
Overall, my base nutrients in the garden were in good order. I had added lime, bonemeal, compost, and many loads of rabbit manure to the garden over the 2 years prior to that test. On the other hand, my boron levels were quite low, as were sulfur and iron.
Step # 3: Understand what these nutrients do for your soil
The Macronutrients
The Macronutrients in the soil are commonly referred to as NPK – Nitrogen, Phosphorus, and Potassium. These are the three represented on every typical bag of fertilizer. The other macronutrients are Calcium, Magnesium, and Sulfur. Here’s a brief summary of what each of these macronutrients does for your soil and plants.
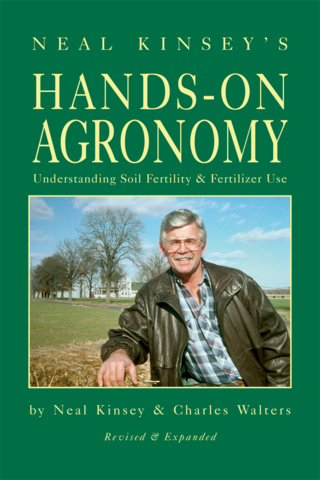
Most of my information is taken directly from the book Hands On Agronomy by Neal Kinsey and Charles Walters, page numbers and chapters are indicated for your reference.
- Nitrogen – Plants need large amounts of nitrogen to build proteins and grow. Applying nitrogen in the form of compost and manure allows microorganisms in the soil to process it as steady source of food for plants. The more well fed the microbes, the better they will work at creating accessible nitrogen for plants. Plants short on Nitrogen will show yellowing at the tips of their oldest leaves (see Ch. 5). Cover crops have been shown to absorb nitrogen which might otherwise be lost, and store it until can be tilled into the soil, making it available for more valuable crops (Eric Brennan’s USDA research).
- Phosphorus– It’s important to have plenty of phosphorus in the soil. It does not easily leach out of soil or move much within soil. It is the “workhorse in plant nutrition because it has to be there for cell division and growth” (p. 154).
- Potassium – (often called potash) increases crop yields, improves disease resistance and winter hardiness in crops. (Ch 8)
- Calcium– is the most important fertilizer element because it helps to make all the other nutrients more available to the plants. When properly balanced, calcium “improves soil texture, makes phosphorus and micronutrients more available, and improves the environment for microorganisms… helps plants form better root systems” (p. 56).
- Magnesium – goes hand in hand with calcium. It is the second most essential element of soil fertility. Magnesium holds soil together and “tightens” it. Hardpan or sticky wet soil is often an indication of an imbalance of magnesium. Calcium and magnesium together should total 80% (60-70% calcium and 10-20% magnesium). The addition of nitrogen brings calcium levels down and magnesium levels up. If magnesium levels are too high, sulfur is needed to bind up some of the magnesium. (Ch. 4)
- Sulfur– drastically improves root development; it helps seedlings survive in cool moist soils; and almost all soils could use more sulfur. In the form of sulfate it leaches easily. Sulfur occurs naturally in humus. (ch 10)
The Micronutrients
The soil’s micronutrients (trace elements) include Boron, Manganese, Iron, Copper, Zinc, and Aluminum (among others). Here are some important details about why each of these matters.
Keep in mind that while the MICROnutrients can have serious effects on plants and crop production, it is important to have the MACROnutrients in proper balance first. Otherwise, the plants may not be able to absorb the additional micronutrients, no matter how much you add.
The best time to spread zinc, manganese, and copper is in the Fall, so that they will be available to plants in the Spring. Boron leaches easily out of the soil and should be spread closer to planting time. Again, most of my information is taken directly from the book Hands On Agronomy by Neal Kinsey and Charles Walters, page numbers and chapters are indicated for your reference.
- Boron – “regulates plant flowering and fruiting, water use, salt absorption, and nitrogen assimilation” (p. 258); Boron makes nitrogen more available to the plant, but can kill plants when applied incorrectly (p. 265-266); Boron deficiency has been found to cause hollow core in cole crops (such as broccoli and cauliflower).
- Manganese – “accelerates germination and hastens fruiting and ripening of crops” (p.274) It strengthens plant stalks.
- Iron – is used in producing chlorophyll, helps give plants their healthy green color.
- Copper– is a source of plant resilience, “vitally important to root metabolism… prevents rosetting and dieback” (p. 260). Copper improves seed production, increases sugar content of fruits and veggies, improves color, and storage qualities (p 280).
- Zinc – aids in the absorption of moisture…helps transform carbohydrates. It regulates plant sugar use (p. 287); it does not leach away on clay or humus.
- Aluminum – too much aluminum inhibits root growth. It’s important to watch out for this in acidic soils like ours.
Step #4: Add macro and micro nutrients to balance and improve your garden soil
Soil science has made a lot of progress since the work of Dr. Albrecht. Think cover crops, permaculture, and microbiomes! I am still learning more about how to improve my soils. Here are a few things that I am doing to adjust my soil based on my soil test results:
1. Adding Sulfur
My sulfur levels were on the low side — 17 ppm, whereas Dr. Kinsey recommends 30ppm as “adequate”. That is not too surprising, since sulfur leaches away easily. I also have a fairly high calcium and magnesium percentage (85 percent) so I would like to reduce the magnesium a bit. Epsom salt (magnesium sulfate) would be a good choice for adding sulfur if my magnesium levels were not already a little on the high side. Instead, I am adding gypsum (calcium sulfate). Recommended application rates for gypsum are about 50 lbs per 1000 sqft. It’s available from our local feed store in 40 lb bags for about 8 dollars a bag.
2. Adding Boron
Boron leaches away fairly easily. I am adding borax (for boron). Four TEASPOONS of borax per 1000 sqft is the equivalent of adding a pound of boron to that size area. Dr. Kinsey recommends adding boron gradually, never more than the equivalent of 4 lbs per acre. For my total garden area of 4900 sqft. I am using 20 teaspoons of borax.
3. Adding Copper
Once added, copper does not easily leach out of the soil. However, copper is also used as a fungicide and I don’t want to hurt my garden fungi! From my research it looks like copper chelate is safe for fungi and works well on small scale gardens. It’s too expensive for use on large agricultural farms. Copper chelate can be added at a rate of .75 lbs (12oz) – 1.5 lbs (24 oz.) per acre. My garden and high tunnel area is 4900 square feet or about a tenth of an acre. Which means, I only need about 2 oz. of copper chelate!
4.Adding Calcium
Calcium levels were low in my orchard and high tunnel so I am adding garden lime to improve those critical calcium levels and raise the pH from current levels of 5.3 and 5.8. I will need to retest after that is done to see what more those areas need.
5. Plant Cover Crops
I hope to continue to improve my soil’s ability to hold essential nutrients (TEC) by using cover crops to add organic matter. I recommend Eric Brennan’s videos, if you are looking for more information about cover cropping.


This is a great article, thank you! I’m curious about cover cropping. I live in Michigan so the growing season is short–how long do cover crops typically need, if I plant them after harvest will they work if they don’t get very big?
Thank you! Glad it was helpful. Great question. I am working on a post all about cover cropping :) It’ll be up by Wednesday. Which zone you are in and how late do you harvest?
There are a lot of different cover crop options out there. I’m sure that we could figure out one suited to your climate and planting schedule. OR even plant them between your rows as both a weed suppressor AND a cover crop depending on how large your garden is. I will talk about that more in the article this week.
I’m pretty pleased to uncover this website. I want to to thank you for your time just for this fantastic read!! I definitely enjoyed every bit of it and I have you bookmarked to see new things in your website.
Thank you! I am so glad to hear that it was helpful :)